If you’re new to Procreate it might seem crazy hard to navigate. There are a lot of gestures, shortcuts, and accessibility features that make this the top-of-the-market digital art app for iPad. To make it easy, I’ve pulled together the best Procreate tips for beginners. These tips will help you feel more confident as you create in Procreate. And as a bonus, you’ll find you understand more of what’s going on in the Procreate tutorials you watch!
Completely New to Procreate?
This post is great for beginners but does assume you have some basic understanding of Procreate (and the basic tools, gesture controls, and features in the app). If you are first time user looking for a solid beginner’s guide to digital painting with Procreate, check out my Beginner’s Guide to How to Use Procreate.
Or, you can join my Procreate for Cricut + Silhouette Creators Facebook Group, and under the Guides you’ll find a great beginner’s video to Procreate. There are alwayss new ways of doing things in Procreate and I share them in this group all the time!
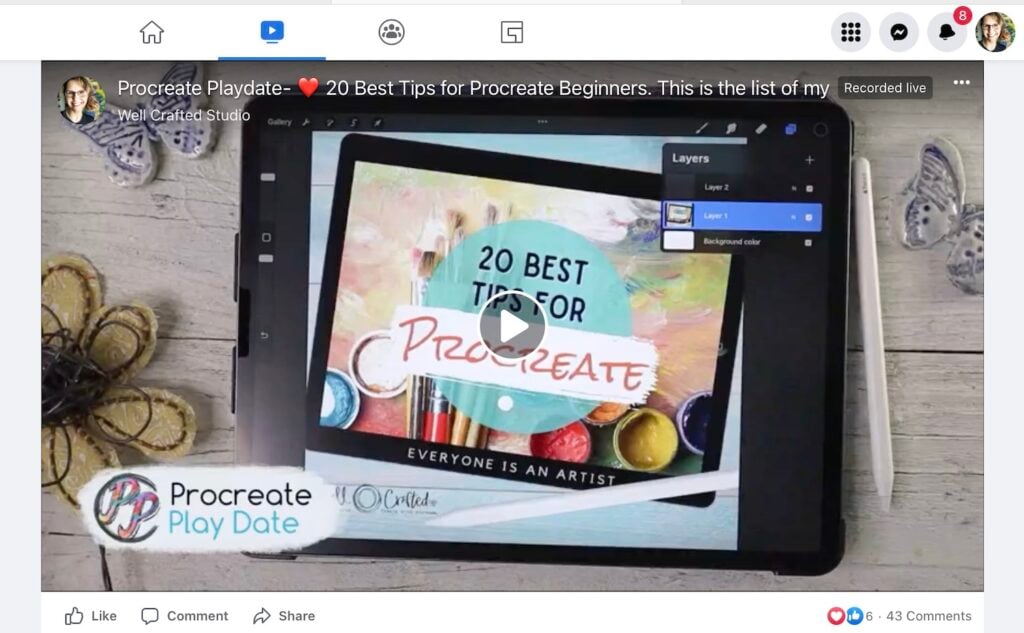
Watch the Procreate Play Date
Want to see these useful tips in action? You can find the replay for this Procreate Play Date on my Facebook page, WellCraftedStudio. Or you can read all 20 tips below!
20 Best Tips for Procreate Beginners
Get Started Tips
1. Use a Paper feel screen protector and Apple Pencil for better control and less hand fatigue
This is a huge tip for those that want drawing on their iPad to feel like drawing in a sketchbook. The slight tooth to the paper feel screen protector keeps your stylus from slipping across the glass iPad screen. So you’ll find you don’t grip it as tightly in your hand. You’re also able to make more natural strokes so your art looks more natural too!
And I do always recommend the Apple Pencil. Procreate was designed to perfectly pair with the features in the pencil. The weight and hand feel of this stylus means you hold the stylus naturally which also improves your line quality and prevents hand fatigue.
This post contains affiliate links. Thank you for supporting my small business.
2. Organize canvases in the Gallery with titled stacks
Procreate’s Gallery has a stack feature where you can drag one canvas on top of another to group them in a “stack”. An easy way to keep organized is to create a cover for that stack that keeps the look of your gallery clean and simple.
Or you can use the cute “folder” file I have for you in my Free Library. Because it’s a .procreate file format when you open it in Procreate it keeps the layers. This way you can alter it to fit your needs, add your title, or leave yourself a note about the artwork in the stack. To change any of the colors, just color drop that layer.
3. Create a custom canvas that’s the size of your screen but with 300 dpi
If you find yourself reaching for that screen size canvas (and then regretting it later bc of the dpi) you can create a new canvas that’s the same size (2732 x 2048px) but has a 300 dpi.
Gesture Tips
4. Hold down two fingers to the screen to rapid undo and three fingers to rapid re-do
Tap the screen with two fingers and you’ll undo your last action. Hold the two fingers down and you’ll trigger the rapid undo which will just keep undoing your actions. Same for the three-finger redo.
5. Use QuickShape with a one-finger modifier to snap to a perfect circle or square
If your squares tend to look more like parallelograms then this is the tip for you! Just draw your shape, and keep the tip of your stylus on your screen. This activates QuickShape. Place one finger on your screen and your shape will snap to either a circle or square.
If your shape is really wonky this won’t work and instead, use the QuickShape Edit option at the top of the screen.
6. Use the Symmetry Tool to make simple designs like butterflies, snowflakes, flowers or buildings
If you haven’t played with the Drawing Assist yet, you may not know how handy this feature can be. To activate Drawing Assist the first thing to do is go to the Actions menu (wrench icon) in the top right of your screen. Choose Canvas and toggle on the Drawing Guide.
As soon as you do, you can tap Edit Drawing Guide which will give you options like 2D Grid, Isometric Grids, Perspective, and Symmetry.
Tap the Symmetry and then the Options underneath it. Now choose from Vertical or Horizontal (which split your canvas in half), Quadrant (4 equal parts), or Radial (8 equal parts radiating from a central point).
Now, when you open a new layer, the sidebar for that layer will have a Drawing Assist option that will turn on the Drawing Guide for that layer.
If you’d like to see how to create a butterfly using Horizontal Drawing Assist I demo that in my video, How to Make Retro 80’s Stickers. I also have a video on How to Make a Mandala with Symmetry in Procreate. This one gets fun!
Tips for Brushes
7. Bookmark your Brush Size to return to the exact right size percentage quickly
This is a fun tip that’s useful too! When you’re working on a project and want to be able to save the size of the brush tool that you’re using you can tap the + symbol on the brush size slider in the Procreate interface (sliders on left-hand side) to save it. Then just tap the little blue mark in the slider to go to that size.
And super cool, you can do this 3 times for each of the Procreate brushes that you’re using. So if you want a consistent small, medium, and large brush stroke just save them!
8. Make custom brushsets for specific projects
Always reaching for the same three brushes every time you make stickers? Create a “Stickers” brushset by tapping the + at the top of your brushsets in the Brush Library.
Then, swipe left to duplicate the brush you want to include and then tap and hold the layer until it turns blue. Now you can move it into your custom brushset by hovering over the brushset until it opens. Then drop your duplicate brush in to save it.
Note: This is something I started to do before Procreate introduced a Most Used brushset option. But it’s still a handy tip if you do have favorite brushes for different projects.
9. Turn the brush cursor on to see the edges of your brush
If you’re wondering where the edge of your brush is, you can toggle on the Brush cursor in Actions>Prefs. This is something that will stay on until you toggle it off, no matter what canvas you’re on.
Tips for Colors
10. Create a custom color palette with photos automatically or by using the eyedropper tool
Trouble coming up with the colors you want to use for a project? Take a photo, or save one from a site like Pixabay or Unsplash (where they are copyright free) and save it.
Then, on your canvas, you can open the Color Panel (in the upper right corner of your screen).
At the bottom right of the Color Panel, you’ll find the Palettes tab. Tap that and then tap the + at the top of the Palettes panel. Select New from Photos and then just find your pic in your photo gallery. When. you tap it, the colors will be automatically added to a new palette.
Alternatively, if you don’t want to rely on Procreate to pick the colors, you can use the Actions> Add Photo to insert the photo into your canvas. And then use the eyedropper too (color picker) to select the exact colors you want.
To do this tap the + and then Create new palette. This will show at the top of your palettes. Then tap the screen to bring up the eyedropper tool and use your finger to move it to select the color you want. Next, tap in the space for the new color palette to save a swatch of that color.
Note: You can also open the eyedropper tool by tapping the square outline icon in the middle of the slider interface. This is the Modify button and you can actually change the action associated with it in the Actions>Prefs.
11. Adjust the threshold of ColorDrop to flood an entire area
Have trouble with color drop not going to the edges of your outline? Adjust the threshold by keeping the tip of your stylus on your screen and moving it from right to left across the screen until the pixels are all filled. You’ll see the percentage at the top of your screen. Your color threshold will stay at this percentage until you change it.
Note: Color Drop is a feature where you drag the color from the small color circle in the top right corner of your screen onto your canvas and then lift up.
12. Get a true white or black with Image Adjustments
Not sure if you’re truly using a white/white for that sticker background? You can adjust the layer after the fact by going to Image Adjustments (magic wand icon) and then Hue, Saturation, Brightness. Tap it and then slide the Brightness slider all the way to the right.
This works for a true black too! And is a handy way to make an entire layer white or black.
Tips for Layers
13. Hold the layer checkbox to isolate a layer
Want to see what’s on just a single layer? Tap and hold the checkbox on that layer and all the other layers will be unchecked which basically “hides” the layer from view.
14. Safely experiment by duplicating a layer and locking the original before you hide it
Want to try something crazy on your layer? Or maybe not so crazy, but you’re unsure of how it will look? Swipe left on the layer and duplicate it. Then, uncheck the original layer and you can even tap the Lock it if you want to be absolutely certain it’s protected from your crazy antics.
This is a great habit to get into because it does free you up to be playful, or experimental without being destructive.
15. Move your sketch layer to the top of your layers and color underneath it
This is a simple tip but it’s one of my favorite things about creating art digitally. Simply tap the + in the Layers panel to open a new layer. Then tap your sketch layer and hold it to pick it up and move it above your new layer.
Now you can add swaths of color beneath your sketch and yet still see the lines of your sketch. All done? Keep the sketch in place for a fun look, or uncheck the layer to hide it.
16. Insert a photo and then lower the opacity of that layer to trace it
Tracing photos is one of the best shortcuts in Procreate. Even if you can draw, this will save you a ton of time as you sketch. Just import your photo, then tap the N on that layer to open the blend modes.
At the top of this drop-down menu, you’ll see the opacity slider for that layer. Slide it left and your photo will become more and more transparent.
And if you use the freehand select and transform tools you can move your sketch elements around to tweak your composition as well!
17. Quickly clean up the background of layer with a 3-finger swipe
I use this with stickers all the time. Sometimes, there are extra pixels on a layer because you touched the screen someplace, or your gaussian blur was super blurred, or you used a brush that had a really wispy edge.
You can clean your layer up by using the automatic selection, tapping the background to select it, then swiping down with three fingers on your screen to bring up the copy and paste menu. Tap the cut option to remove everything that was selected.
Note: You may have to adjust the threshold of the selection by sliding it right or left.
18. Move a Layer from one canvas to another
There are a couple of ways to do this, you can either isolate the layer like we did in Tip #13 and then do the three-finger swipe and then copy all.
Or you can tap and hold on the layer you want to copy to another canvas until you’ve picked it up. Then, keeping the tip of your stylus on your screen tap the Gallery button in the top left corner of your screen. Tap the canvas you want to open with your other hand, and then drop the layer onto that canvas. To be even more specific, you can even open the layers panel and drop it exactly where you want it.
Note: This does work with multiple layers, you first have to swipe right on them to select them then follow the instructions above. The one caveat, is that sometimes all those layers don’t want to import and it will take time. Or, you’ll notice that they imported a little wonky (in reverse order).
19. Uncheck the background color to export as a PNG with a transparent background
Want to export as a PNG with a transparent background? Just uncheck the checkbox on your Background Color layer at the bottom of your layers menu. Then, Actions>Share>PNG and you’re golden!
One Last Selection Tip
20. Move a selection to a new layer with cut and paste
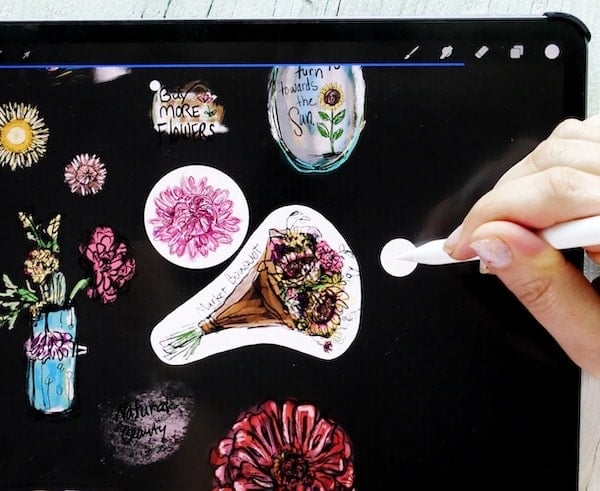
Another super handy trick to have is this- you can use freehand select to circle something on one layer and move it to its own layer by doing the three-finger swipe to bring up the copy and paste menu and then tapping the copy and paste. This pastes whatever you copied onto its own new layer.
And That’s It! The 20 Best Procreate Tips for Beginners. ❤️
Now that you know them all, which tips is your favorite?
Let us know! There is a fan favorites poll for these tips in the Procreate for Cricut + Silhouette group so join today and vote for your favorites!
Interested in Knowing More About Procreate?
I have some great resources for you! The Procreate for Beginners post is a great place to start learning Procreate. And my Shortcuts and Gestures in Procreate post is a must-read. You can even print out a cheat sheet to keep with you as you use this digital art app.
Love this post on the 20 Best Procreate Tips for Beginners? Share it!
If you found this post helpful, I’d love to have you share it on social media or with your friends. Saving an image to Pinterest is a great way to bookmark the post for later use too!
Thanks for Reading,



![How to Draw Snowflakes in Procreate [Symmetry Tool]](https://wellcraftedstudio.com/wp-content/uploads/2019/11/How-to-Draw-Snowflakes-square-1024x1024.jpg)

Great tips. So easy to follow and they always leave me feeling accomplished when I can apply something new.
You’re so awesome.