It’s curious. If you look on the official Cricut website and read all about the Cricut Engraving Tool it only says it can engrave two metals. But, if you look at the Cricut Material Settings you’ll find six metal options are given. I wanted to figure out EXACTLY what metals you can engrave with the Cricut Engraving Tool. Through testing, I came up with a list of 14 metals you can engrave with a Cricut Maker. I also discovered that there is a way to determine the hardness of each metal and find its equivalent Material Setting!
What ARE the Metals You Can Engrave with a Cricut?
The Official List of Metals to Engrave with a Cricut Maker
- Aluminum Sheets
- Metal Sheets (40 gauge copper)
The Cricut Maker Material Settings List of Metals
- Anodized Aluminum
- Aluminum
- Brass
- Bronze
- Stainless Steel
- Metal Sheets (40 gauge copper)
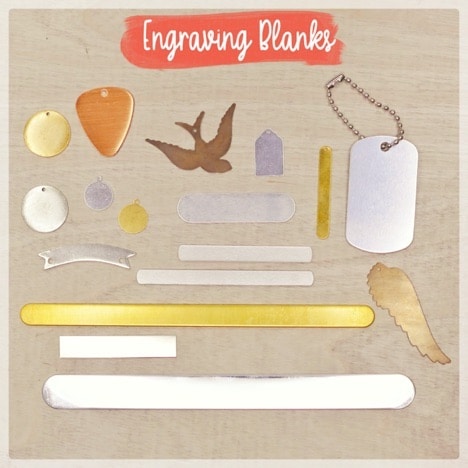
My Unofficial List of Metals the Cricut Can Engrave
- Aluminum (up to 16 gauge)
- Anodized Aluminum
- Aluminum Step Flashing
- Brass
- Bronze
- Copper Sheets (40 gauge)
- Copper
- Galvanized Steel
- Gold
- Pewter
- Silver Plate
- Stainless Steel
- Sterling Silver
- Tin
Finding the Material Setting for All the Possible Metals
It’s kind of a mystery what each of the Cricut settings actually do because unlike other materials we aren’t able to go into the Customize section of the Material Settings and check. What we can assume is that each setting has a different level of force that they apply to engrave.
So to decide which of the 6 Cricut Material Settings to use to engrave metals that aren’t on the official list, we have to get a little crafty.
You could…
- Do this through a lot of testing, trial, and error.
- Or you can determine the relative hardness of each metal that is listed and use that to find a metal that has an equivalent hardness.
The Mohs Scale of Hardness
Fortunately, the second method is made super easy when you know about the Mohs Scale of Hardness. This is more commonly known in the jewelry community, and it rates the hardness of materials and can be used to find the hardness of gemstones and metals.
The test that Mohs did to determine where things were on his scale of 1-10 was simple. For each material he asked, which materials did it scratch, and which scratched it. A diamond is a 10, pencil lead is a 1 on the Mohs Scale.
Using this scale, we can determine where on the Mohs scale each of the metals on our unofficial list is, and then find the Cricut Material Setting that is equivalent. For instance, Pewter has an equivalent to the Brass or Bronze setting. Bronze is slightly harder than brass so we can guess that Cricut has a higher pressure setting for Bronze.
A Cheatsheet of the Different Metals and their Material Settings
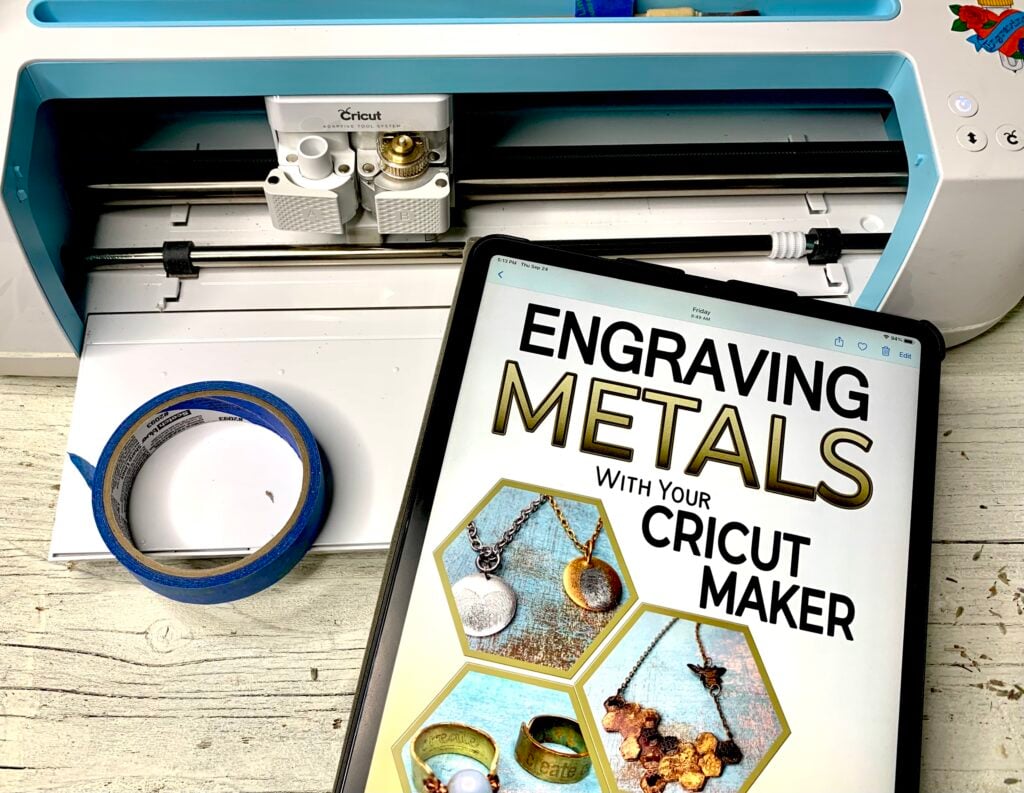
I actually geeked out and did this research for my book, Engraving Metals with Your Cricut Maker. The cheat sheet I created lists each metal on my unofficial list and it’s Mohs number. Then tells you what Cricut Design Space Material Setting to use for each metal. I also added my own notes from when I tested each metal to the cheatsheet.

The notes are extra, but I thought they’d be nice to include. OF COURSE, I would love it if you took your own notes and then sent them to me so we can geek out together! I also want to add a disclaimer that this list is not comprehensive or infallible. It’s my best guess.
Make Adjustments and Test Your Designs
You can also adjust the material settings by choosing the More/Default/Less Pressure options on the Material Settings Page. You can also use the Duplicate>Align Center>Attach trick of stacking your designs for multiple passes. More passes= a deeper engraving.
Note: If you can, it’s smart to test the material setting on the same metal as you plan to engrave on. I also suggest you test the design so that you know you’ve positioned it correctly, as well as have the right size. Fortunately, that’s easier to do.
In my post, How to Spray Paint Aluminum Flashing for Engraving with a Cricut, I go deeper into aluminum flashing and the pros to using it.
Note: If this isn’t the metal you plan to engrave on, then it doesn’t make sense to test the pressure, so don’t bother to do multiple passes. It’ll just waste your time.

When it Doesn’t Matter
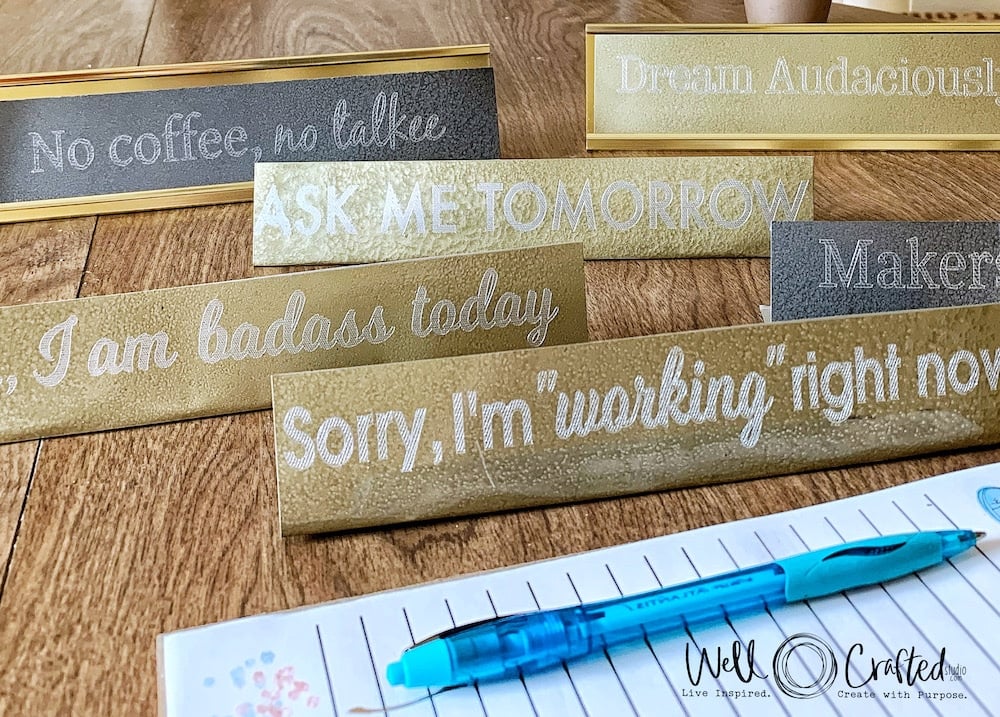
I’d also like to say that in my experience if you’re using any sort of pattern fill, like the example below, you do not need to go deep to see the engraving. That’s the beauty of the pattern fill. I also go more in-depth about 3 different methods to add pattern fill to your engravings in my book.

More about Engraving Metals with Your Cricut Maker
Excited to jump in? Sweet! Nervous? I have the book that will teach you over 34 Cricut engraving techniques (plus metalcrafting basics), and 4 ways to position your engravings perfectly. It also gives different ways for getting a deeper engraving as well as a higher contrast. I have 7 tutorials that walk you through all kinds of ideas so that you can create jewelry, and gifts you’ll love to give others!

Love it? Share it!
As always I completely rely on my readers to share my tutorials and posts. You guys are my best resource. ❤️ So if you have a minute to share this with a friend, or your favorite Cricut Facebook group that would be AMAZING. Thanks!


That cheat sheet is amazing. A lot of work went into that! Cannot wait until the book party!
YAY!!!!! I’m SO glad! It was a lot of work but I totally loved it too. There was one day when I was just looking up info about the different metals and thought “how cool is my life?” 🙂 I’m really excited/nervous about Saturday. But more excited! So glad you’re coming!
My Grandson is a Su Chef in an Italian Restaurant. For Christmas last year, I engraved a few serving pieces with “Chef…and his name”. He was delighted and actually took it to work and showed it to the Chef. I love engraving with my Cricut, but have made some real booboos. So I am trilled that you are publishing a book all about it. I think I also need a class on how to download and use fonts. I am very excited about what is to come.
I love this so much!!!! It totally makes my day to hear that you did this and that he loved it that much! The engraving is harder then it seems like it should be. But the results are well worth it!
I’d love to help you with the fonts! After the launch this weekend I’ll email you. Thanks for taking the time to reach out!!!
Wow! This is great information! You’ve done an amazing job pulling all of this information together. I can’t wait to get your book.
Thanks Amy!!! It’s exciting- and it wasn’t even my idea to begin with. It was thanks to a reader like YOU that I decided to go for it and dig deep into the engraving! ❤️
I have the explore air any advice on engraving metal with it?
Yes! I actually have a friend, Kay Hall who has a GREAT YouTube tutorial on engraving with an explore air. You do probably need to get the Chomas Engraving Tool from Amazon as Cricut doesn’t have one for the Explore.
Here’s the tool- https://wellcraftedstudio.com/go/chomas-engraving-tool-for-cricut-explore/
And here’s Kay’s YouTube link.
https://www.youtube.com/watch?v=lWaq3g_TJ-8
Hi, I really appreciate your webpage, found it during a search of whether silverplate flatware can be engraved on a cricut. I don’t have an engraving machine yet, didn’t want to invest in one until I was pretty sure it would work. Can you give me an idea of what machine would be best for me and what tools, bits, etc, I would need. Stamping is killing me, would love to find a beautiful alternative!
Hi Melanie! So the Cricut Maker works well for engraving. There’s a few quirky things, like the handle can’t go under the rollers, and the engraving needs to be filled in to really show. You would need the Cricut Engraving Tool and a purple strong grip mat. I have all the basics in an intro to engraving post I’ll link to at the bottom of this reply. You could also get a Glowforge and that would engrave beautifully. It also has a camera so the placement of your design is easier. Getting things lined up on the Cricut mat can be a hassle. The Glowforge is a lot more expensive though, so there’s that. Hope this helps!
-Jen
https://wellcraftedstudio.com/start-engraving-with-a-cricut/
Thank you so so so so much for making that cheat sheet!! I find the cricut super intimidating and I really appreciate your tutorials!! Thanks for doing all the work to test all the metals!!