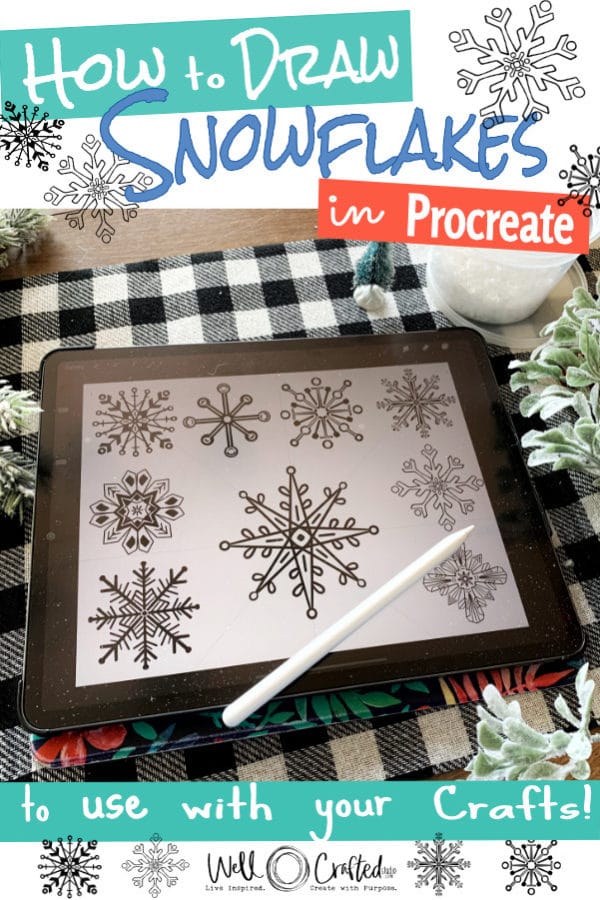
My brain seems to unconsciously be circling around Procreate and design lately even when I’m focused on the other have-to-do things each day. For example, as I was sitting in carpool thinking of Christmas projects, it was an easy mind jump to snowflakes, and from there to Procreate. And wouldn’t you know that when I tried it, it was SO easy (and fun) to draw snowflakes in Procreate using the Symmetry Tool that I HAD to share it with you too! And as the holidays rev up, creating these snowflakes is relaxing, and could even be used as a meditation tool!
More for Merry Maker-mas!
I’ve added these 3 snowflake designs to my Free Library in the Procreate section as PNG designs for Merry Maker-mas 2021 (ETA Merry Maker-mas 2022 I added these as SVG designs as well).
PNG designs are exported directly from Procreate so you upload them into Cricut Design Space, process the image as Complex, and then Save as a Cut File when prompted. That’s it!
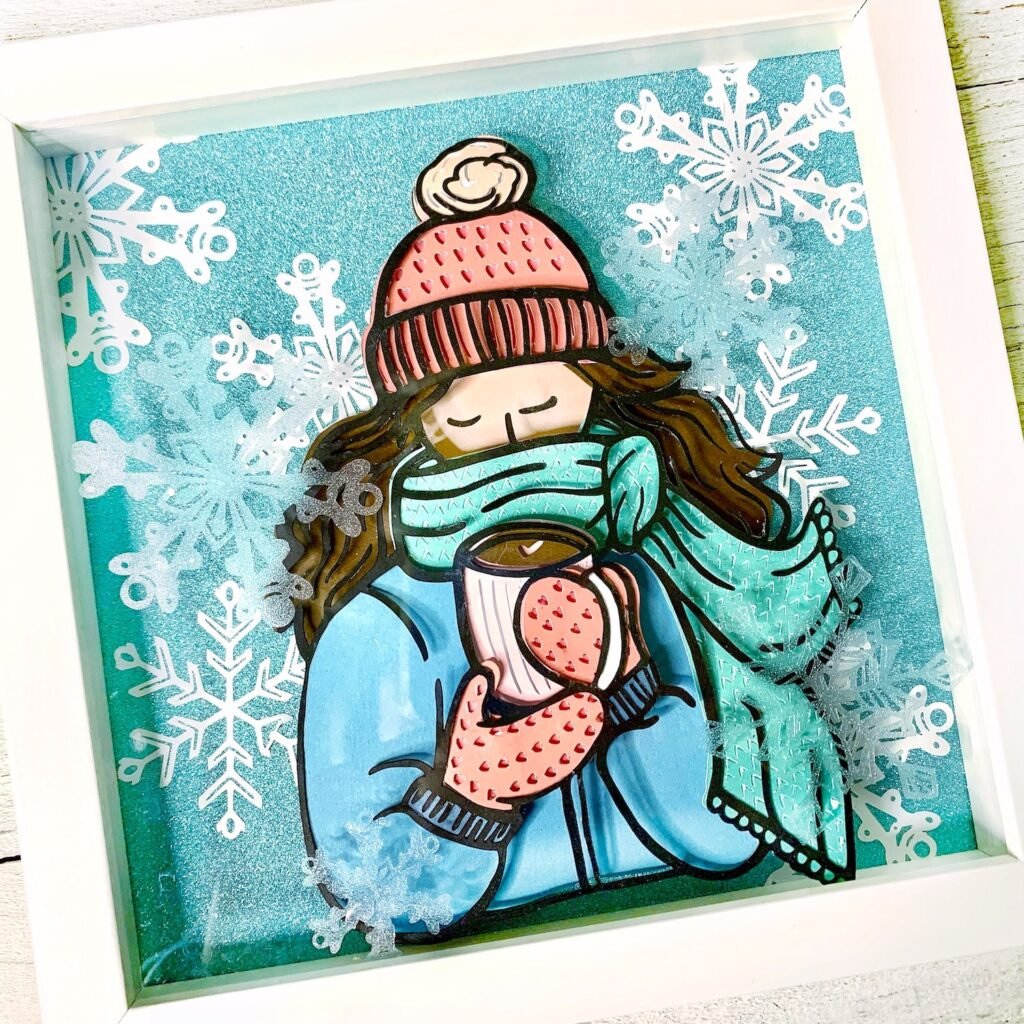
To create the Snowflake decals with the Layered Girl below- I used white vinyl for the snowflakes in the back and frosted window cling for those in the front. I actually cut a bunch of these out of the frosted for my front window and then decided they looked good on the front of this shadowbox as well.
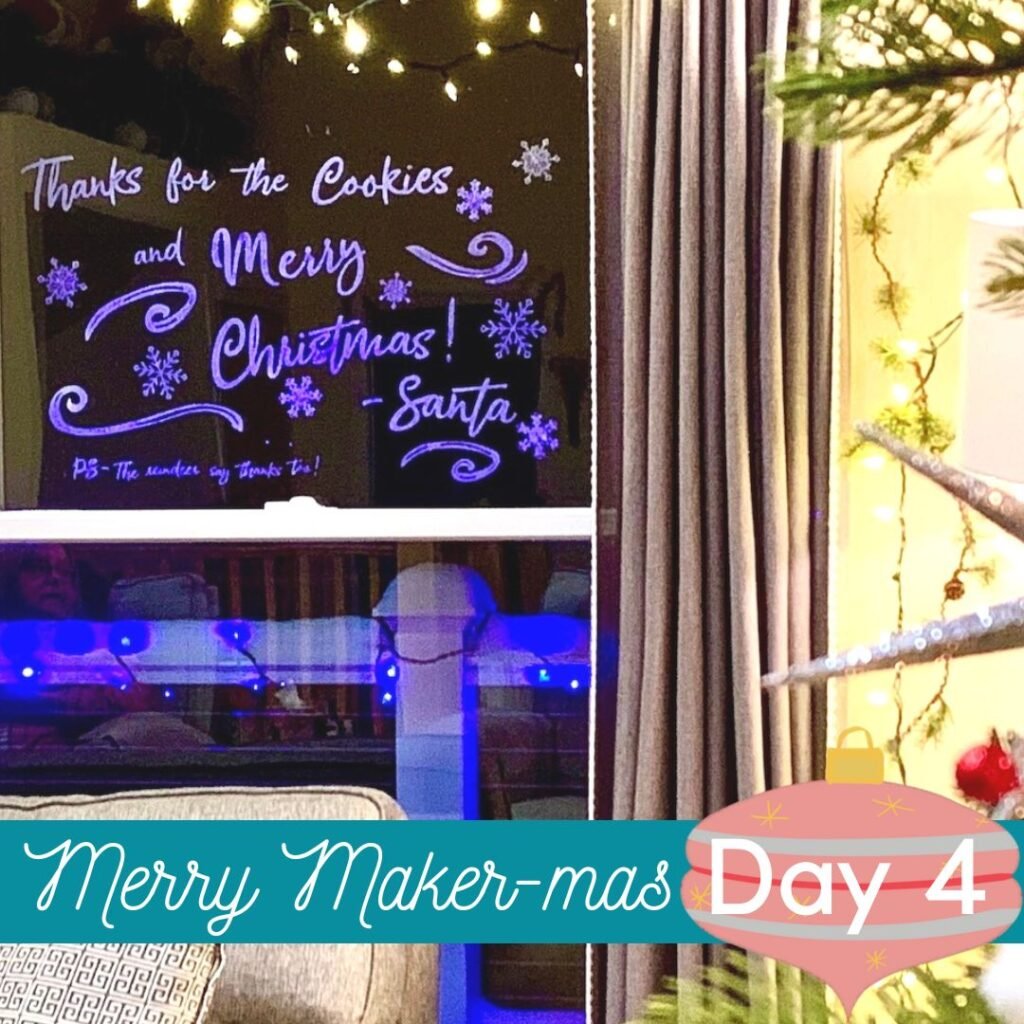
I also used these snowflakes with the Thank You Note from Santa tutorial too.
You can find my pretty layered girl design in my post, How to Make a Layered Paper Design in Cricut Design Space.
Watch the YouTube Video to See How to Use the Symmetry Tool in Procreate to Make Snowflakes
Snowflakes are unique and should look unique. So this post is going to help you design your own one-of-a-kind snowflakes that you can use for all kinds of projects. You can read the tutorial post below, or if you’d rather watch, I have a YouTube video that shows you how to make snowflakes using Procreate.
A Little About Procreate
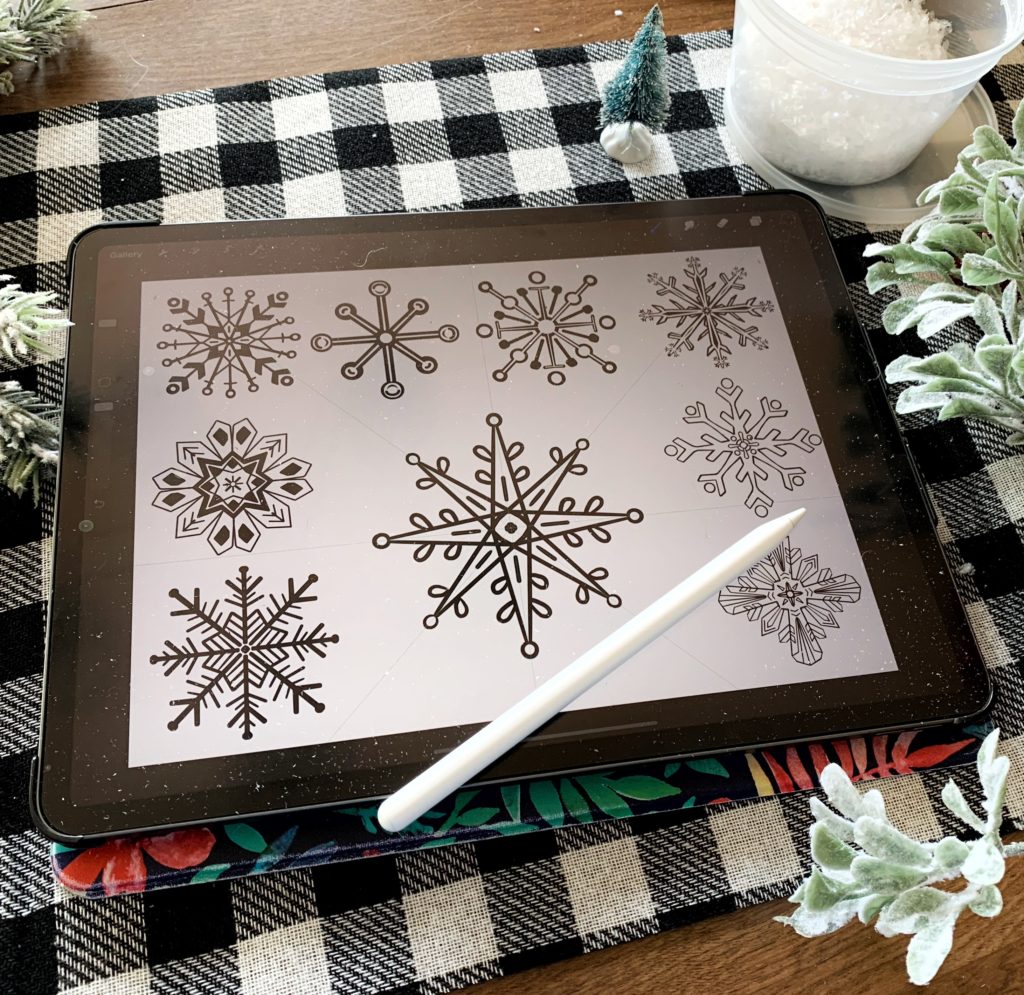
Procreate is a drawing app on the iPad that I love using with the Apple Pencil. And when I say love, I mean whenever I get to use it, I get that feeling I did when I was a kid, and the teacher called “time for recess.” There is just so much possible that I know that I don’t even know how much is possible with this app. If that makes sense.
Every single time I sit down to play, or google a question or watch a video, I learn something new. It’s kind of like a feel-good drug. But a positive, that lowers-your-anxiety-and-makes-you-a-better-person type of medication. 👍🏻
How to Draw Snowflakes in Procreate Using the Symmetry Tool
Tools and Supplies
- Procreate for iPad
- iPad
- Stylus (optional)- I use the Apple Pencil
- Paper-feel Screen Protector. This is optional, but I’ve found that it helps me control the stylus as it slips across the glass. This makes my strokes more natural, and my hand doesn’t cramp up from gripping the stylus.
These are affiliate links, which means that if you purchase through these links I may receive a small commission. Thank you for your support!
Directions
Step One: Set up your Canvas
I often choose Screen Size for projects like this if I don’t plan to use them with my Cricut. (If you do want to use these as basic cut files, I would create a custom canvas that’s 10″ x 10″ at 300 dpi.)
Once you open a canvas in Procreate, go to the wrench symbol on the upper left side of your screen. This is your Actions Menu.
Choose Canvas from the menu that drops down.
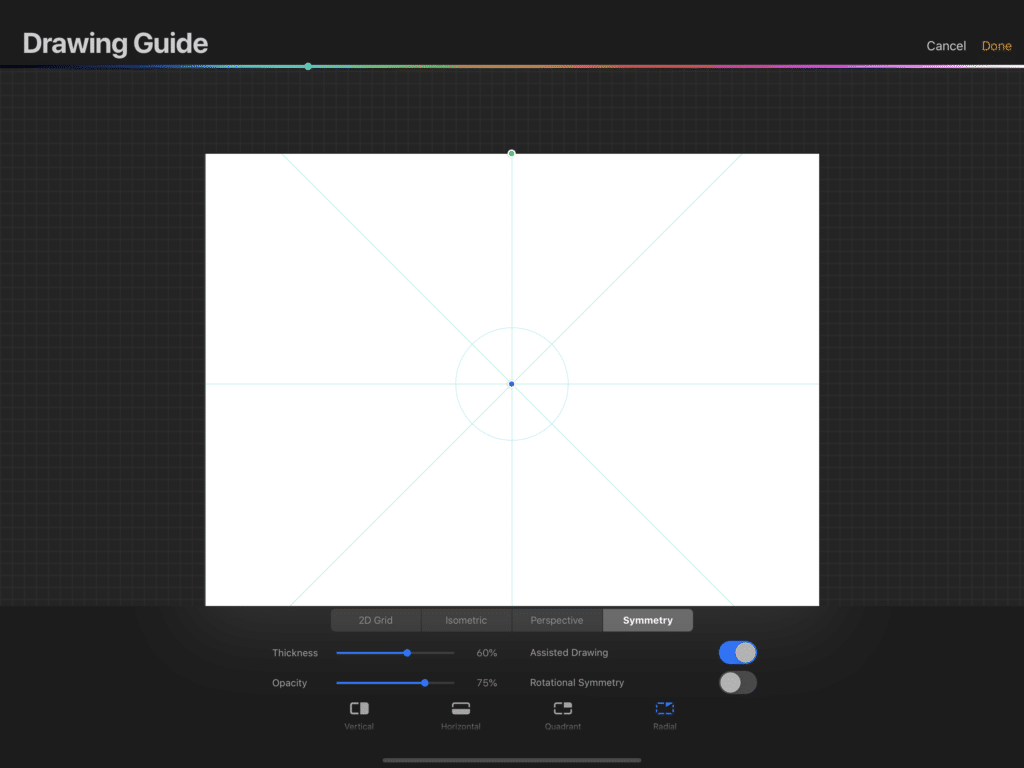
Then, toggle on the Drawing Guide. This will give you the option to Edit Drawing Guide.
Once you do that, it will take you to a new page; the set-up page for the Drawing Guide where you can edit it.
Step Two: Set up the Symmetry Tool
Choose Symmetry from the bottom menu.
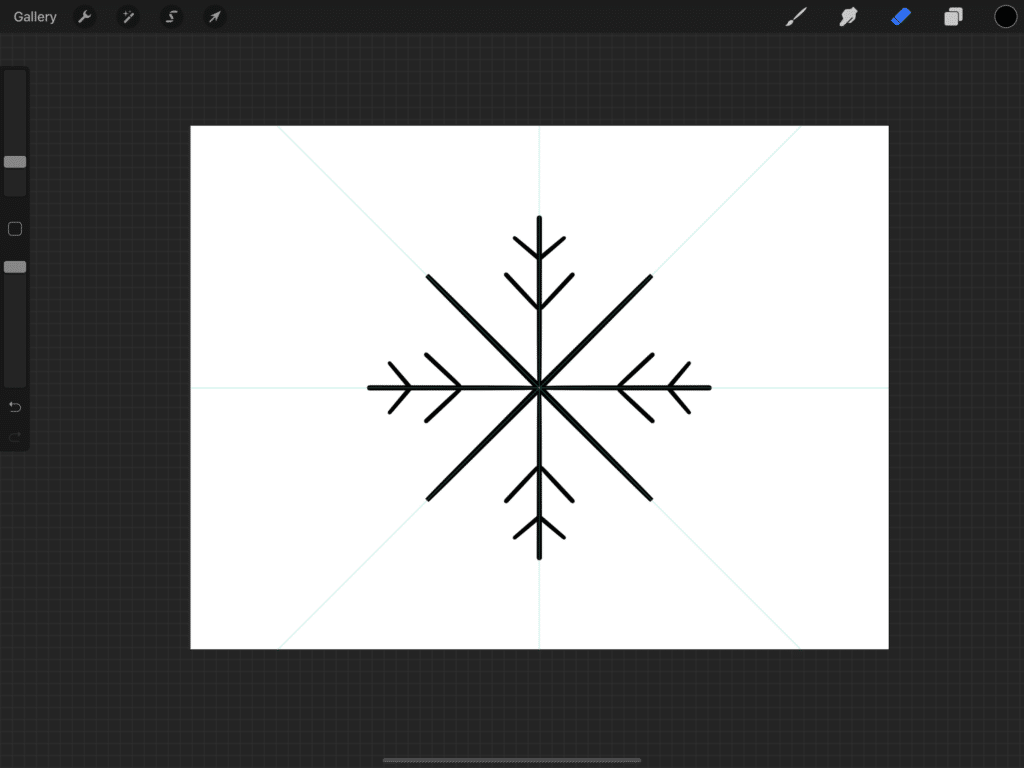
Then choose Radial* from the choices that appear once you’ve selected the Symmetry function. This will give you a dot with lines that radiate out from it. Click Done.
*Note: Since I created this tutorial I’ve been told a few times that snowflakes have six arms, not 8. To get the six, use the vertical symmetry and then duplicate it by swiping left on the layer, and then tapping the transform arrow to rotate it. Repeat once more for all six. But honestly, I like the radial better because it’s so much fun.
Step Three: Select a Brush and Color
I like to use a pen tool for this, like the technical pen in black for basic designs. Or you can’t go wrong with a Monoline brush. You’ll find both under the Inking section of your Brush Library.
Note: If you’d like to play with it, I also have a FREE Pen brush in my Free Library that you can download along with tons of other FREE Procreate brushes and brushsets.
Step Four: PLAY!
It’s kind of like making a mandala. And it feels a little like magic too. Just play around a bit so that you understand and feel comfortable with the tool.
Remember that if you draw a line or a shape and don’t pick up the tip of your pencil from the screen that Procreate will auto-edit it to be more uniform.
This is the QuickShape function and it works well for what we’re doing today. Besides lines, you can also use QuickShape for circles, rectangles, squares, ellipses, and arches.
Tip: Once you use QuickShape you’ll see a little edit option at the top of the canvas and that will let you choose between similar shapes like a circle or an ellipse.
Step Five: Select a Photo for Inspiration
This is totally optional, but I like to have reference photos that I can look at as I draw. To find the macro snowflake photographs I show in the video, I used Pixabay.
It’s a great resource, and the images are copyright and attribution-free. I use them for reference images.
How to Save Photos on an iOS Device: To save the photos, just hold a finger on the picture until you see the option Save Image to save to your photo gallery. Or you can save it to your icloud drive as well.
How to Save Photos on a PC: Right-click on the image and choose the save image option.
Step Six: Insert the Photo into the Canvas
Click on the wrench tool again. Then choose the + symbol that says “Add” underneath it. Choose Insert a photo.
Then Select one of your snowflake photos by tapping on it in your photo gallery. (Procreate will insert it on its’ own layer (that says Inserted Image) onto the canvas).
To move the photo to the side of your screen, use the Select Tool (it looks like a ribbon). This opens up a Select Panel at the bottom of your canvas with different options. Choose Freehand, and then draw a circle around the snowflake.
Or, alternatively, to Select the snowflake, in your Layers panel, tap on the layer with your photo. Next, in the sidebar menu that comes up, tap on Select.
Then, in the top toolbar, touch the arrow next to the Select Tool, this is the Transform (or Move) Tool.
Now you’ll be able to move and size the photo. To keep the proportions, you’ll want to have Uniform selected in the Transform panel that opens at the bottom of your screen.
Note: With Procreate 5X you can use the Reference tool. You’ll find it under Actions>Canvas. This will insert a window on your canvas that is not a layer. And it won’t be visible in a time-lapse either. But you can’t really use this to trace the design.
Step Seven: Adjust the Opacity of your Layer to Make it Easier to Trace
If you’re tracing your snowflake, and not just using it as a reference, it really helps to turn down the opacity of your photo layer. You can do this under the Layers panel by tapping the N on the photo layer. This opens up a drop-down menu that has an opacity slider. To add transparency, slide it to the left.
Step Eight: Create a New Layer and Adding Drawing Assist
Create a new layer to draw on by clicking the + symbol in the Layers panel. If it’s not on top of your photo layer then press your finger or stylus on the new layer and drag it up over the photo layer.
Tap on the Layer, and a side menu panel will appear.
Touch the Drawing Assist to turn on the Drawing Guide Options that we chose earlier.
Tip: If you would like to adjust the setting or move the center of the radial around on the screen, you can do that. Just go back to the wrench symbol in the upper left corner and edit the Drawing Guide again.
Step Nine: Draw a Snowflake
On this new layer, and using the photo as a reference, start to draw.
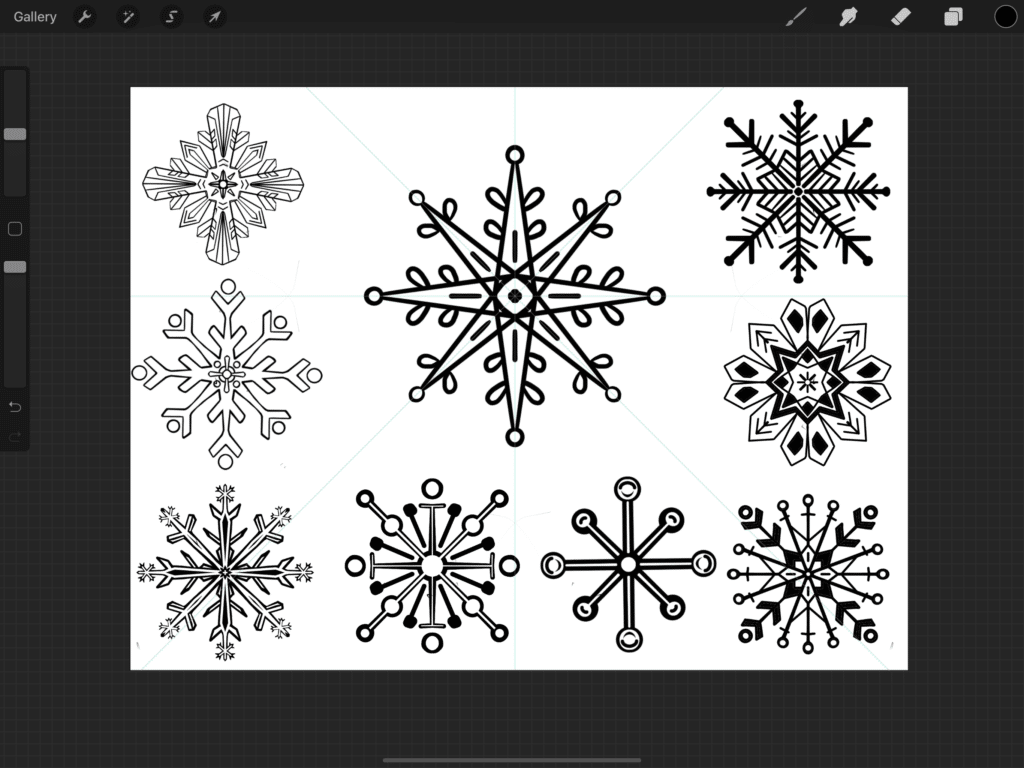
Don’t forget you can use the QuickShape function by not lifting your pencil off the screen until it snaps into a perfect line or shape. I used it for many of the lines, and for the circles on the snowflakes below.
Step Ten: Draw MORE Snowflakes!
When you’ve completed a drawing, you can select it and then move it off to the side, as I explained above.
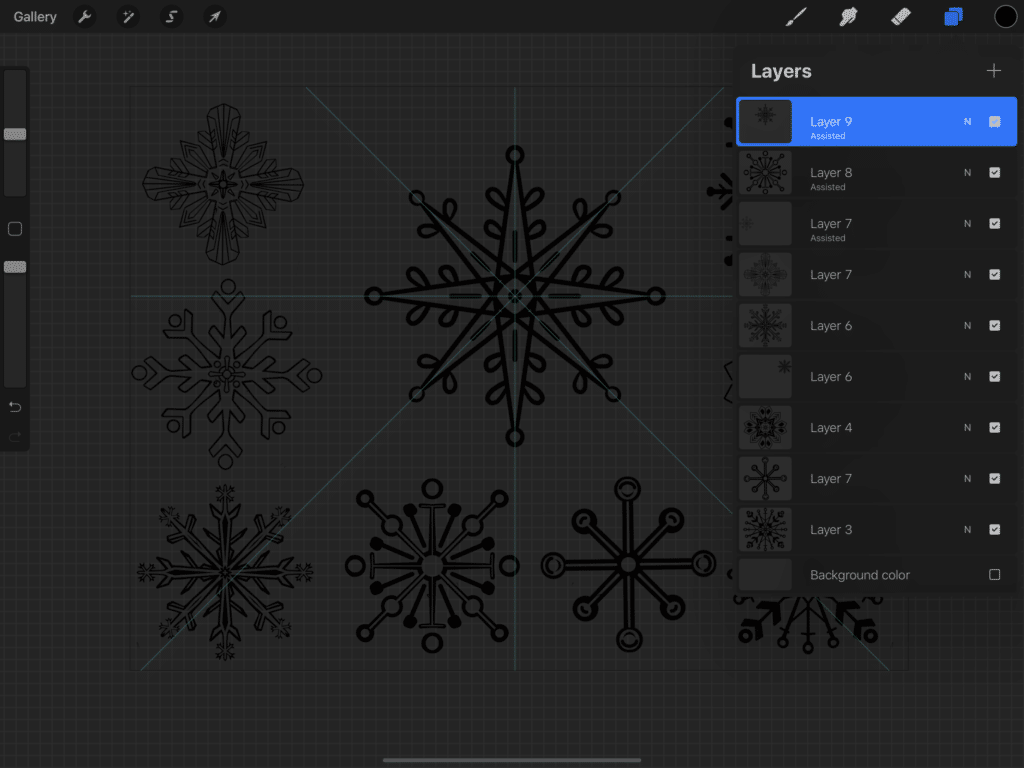
Create a new layer. To do this, just tap the + symbol at the top right of the Layers Panel.
On this new layer, use the symmetry tool to draw more.
Delete the Photo Layer- Once you’re done with one photo, you can go to its layer in the Layers panel and swipe left across it.
This will give you the option to delete the layer.
If you don’t want to remove it, but don’t want to see it, you can uncheck the box next to its name in the Layers panel, and the layer will be hidden.
Each time I finish a snowflake, I will use a lasso to select it and then the arrow to make it smaller and move it to the side of my screen.
Important- Just be aware that when you size it down, you will lose some of the image quality if you try to size it up again later. If you are concerned about the image size, you can open up a new canvas for each design.
Step Eleven: Make the Background Transparent
To save the design to use in a program like Affinity Design or Cricut Design Space, you’ll want a transparent background.
To do this, go to your layers panel, and at the bottom uncheck the box next to “Background Color.”
This will give you a transparent background.
Step Twelve: Save and Export Your Snowflakes
Under the Actions panel, tap the Share option.
Then you have the choice to either 1) save the final image as shown on your canvas, or to 2) save each layer as a seperate image.
For Option 1, just tap the PNG option in the Share options under the Actions panel. You’ll be prompted to either share to your Photo Gallery, or to your files in iCloud Drive.
Troubleshooting for Cricut Design Space: If you plan to use these designs in Cricut Design Space Mobile App, I noticed that if I saved to my Photo Gallery the image imported with a background in place even when it’s supposed to be transparent. When I uploaded the same image that was saved to my iCloud Drive it had no problem.
If you’re going to go with Option 2, then, go to the wrench tool again and select the up arrow that says “Share.”
Then in the drop-down menu and under the category Share Layers, choose the PNG option. Then, save it to your Photo Gallery or downloads folder.
If each of your snowflakes is on a separate layer, then this saves each snowflake as its own image file. It’s absolutely slick. I love it!
Use your Hand-Drawn Snowflakes to Design One-of-a-Kind Projects!
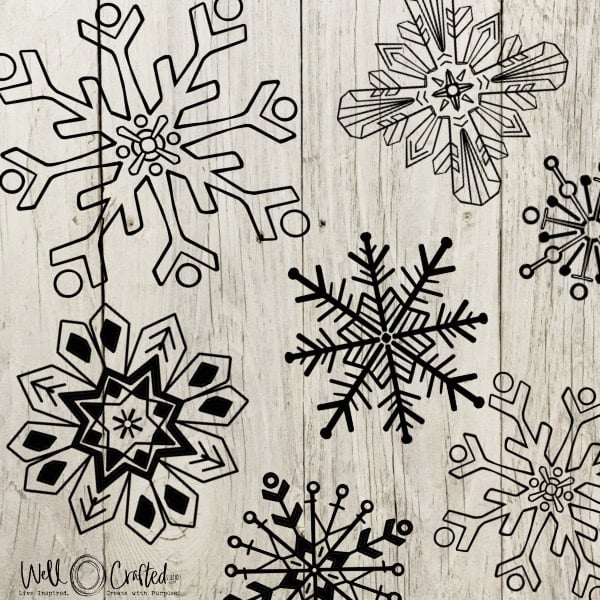
While it’s a ton of fun to draw and play with the symmetry tool in Procreate, it’s even more valuable when you have your own hand-drawn illustrations and designs to create with. I used snowflakes that I drew in Procreate to create the vinyl cutouts you could see in the shadowbox image of the layered Girl with Mug paper design at the top of this post.
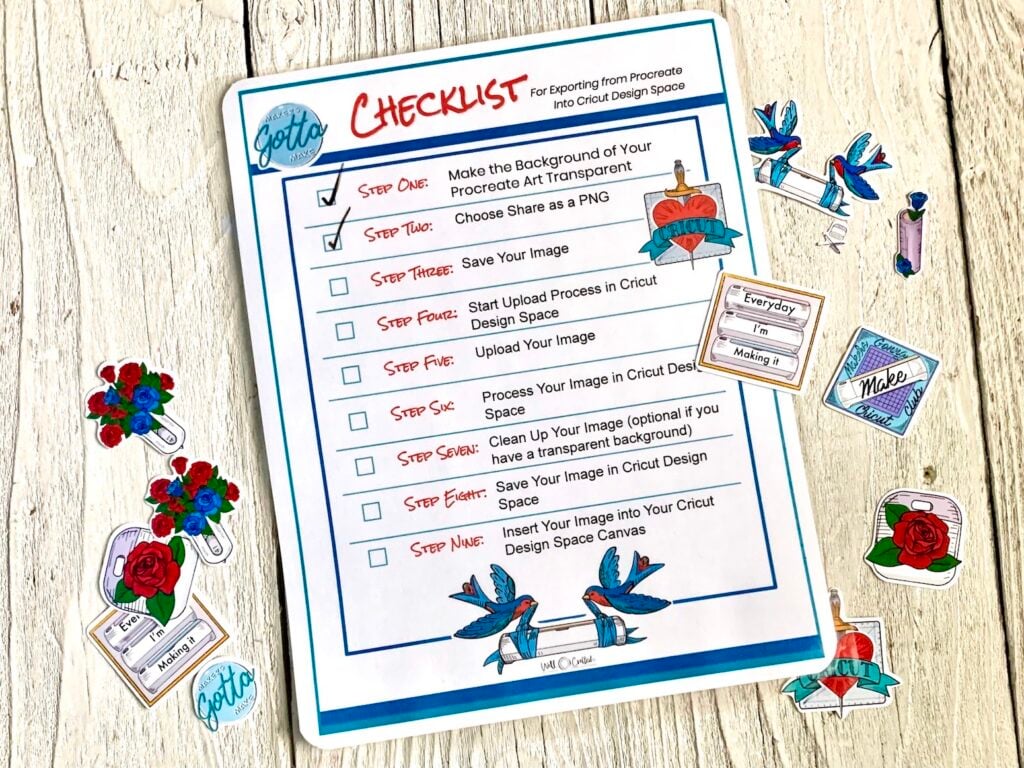
For a step-by-step for how to UPLOAD Procreate designs into Cricut Design Space, check out my post and video. I even have a printable checklist that you can follow!
For More Inspiration…
If you’d like to know more about Procreate, I can point you to the Procreate Skillshare Tutorials that I sighed over in delight. Winter Illustrations in Procreate by Liz Kohler Brown is my most recent favorite. But all of the tutorials that I’ve watched have been wonderful.
If you’re not familiar with Skillshare it’s a learning website with literally thousands of courses on all kinds of subjects. Pretty much, if I’ve wanted to learn something I search Skillshare for courses and find more options than I’ll ever need.
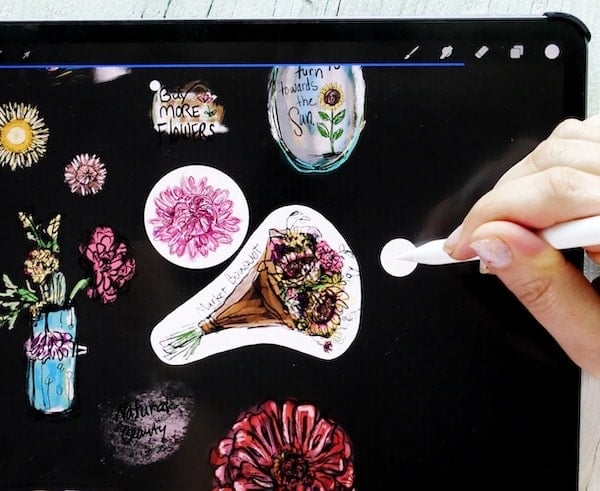
I also have a few Procreate tutorials of my own that you can find on my YouTube Channel. The two most popular are How to Draw Stickers in Procreate, and How to Use Photos to Draw Stickers in Procreate. I’ve discovered I’m not the only one with a hand-drawn sticker obsession right now! So if you enjoyed this tutorial for how to draw snowflakes in Procreate I hope you’ll check these out as well!
Join the Procreate + Cricut or Silhouette Creators Facebook Group!
If you’re new to either Procreate or a cutting machine, this Facebook group provides a community of support. I’m super active in it and love to answer your questions. AND we have a LIVE Procreate Play Date weekly.
Love this? Share it!
If you found this tutorial fun, exciting, or you really want to remember it for later contemplation (maybe in the carpool lane), then I’d love to have you share it on social media! If you liked the video it really helps me if you would like or comment on the video.
If you want to stay up on all the future tutorials from Well Crafted Studio then I would LOVE to have you subscribe both to this blog and to my YouTube Channel.
Thanks for Reading,






Hi. Cool tip…Snowflakes, however, have sixfold radial symmetry and Procreate permits only eightfold radial symmetry. It would be a better idea to draw them in Sketchbook Pro. Where one can control the number of symmetry axes 🙂
Hi! Crazily enough I did not know that. But over on YouTube someone mentioned it. And if you do the quadrant symmetry and only do 4 arms you can duplicate and then rotate the layer to give you the eight. Great tip about Sketchbook Pro. I’ve never tried it but have heard really good things! Thanks for your comment.