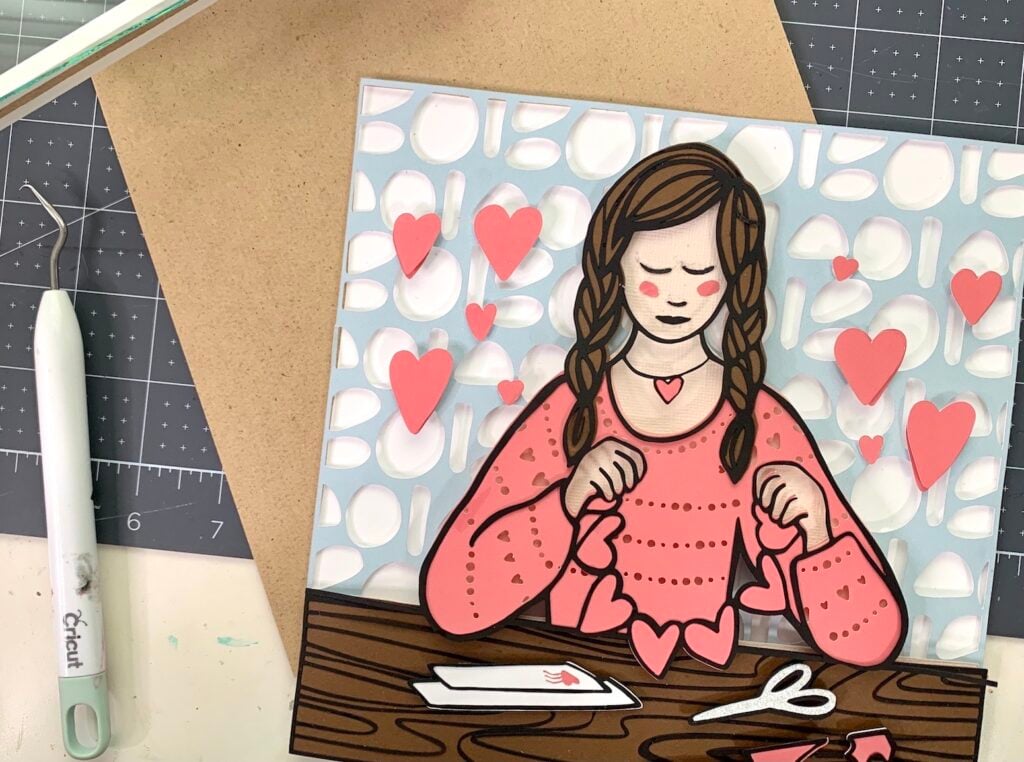
Paper, although simple can do SO much. And these popular layered designs really show you how amazing simple cut pieces of paper stacked can be when assembled in this way. For this project, I originally used an image of a girl (who loves to craft) that I drew using the digital app Procreate and then converted into an SVG with Silhouette Studio. If you’d like to know how to do this you can watch the FB Live in my Procreate for Cricut + Silhouette FB Group (see link at bottom of post)! For Merry Maker-mas I made a new layered design that’s a poinsettia wreath. You would follow the same instructions to assemble it and now bonus TWO designs!
Get the FREE Layered Paper Designs!
I’d love to have you try this free Layered Girl paper design. You can find it in the Free Library here on Well Crafted Studio.
You can also get a SECOND free layered design for Merry Maker-mas! I love this poinsettia wreath. The only thing that’s different about this one is that I cut the “Merry Christmas” out of vinyl and used transfer tape to apply it to the glass on my frame. You can find both this design, AND the craft girl layered design in the Free Library under SVGs.

Need the password? Just sign up for my email list, and you’ll get the password emailed directly to you!
How to Make a Layered Paper Design of a Girl with Cricut Explore 3
Tools and Materials
- Cricut Explore, Explore 3, Cricut Maker, or Maker 3
- Blue Light Grip Mat
- 12″ x 12″ Cardstock
- Dual- Adhesive Foam Dots
- Glue with Precision Tip or Glue Pen (Art Glitter Glue was highly recommended but I couldn’t get it in time for this post. I really do like the Bearly Art version and will get back to you about the other)
- Shadowbox- I’m using one of the 8″ x 8″ frames from Michaels that comes in a 3-pack.
- Optional: Weeding Tool, Scraper (to clean mat between uses), Brayer (this makes paper crafting SO much more enjoyable!)
This post contains affiliate links. Thank you for supporting my small business.
Directions
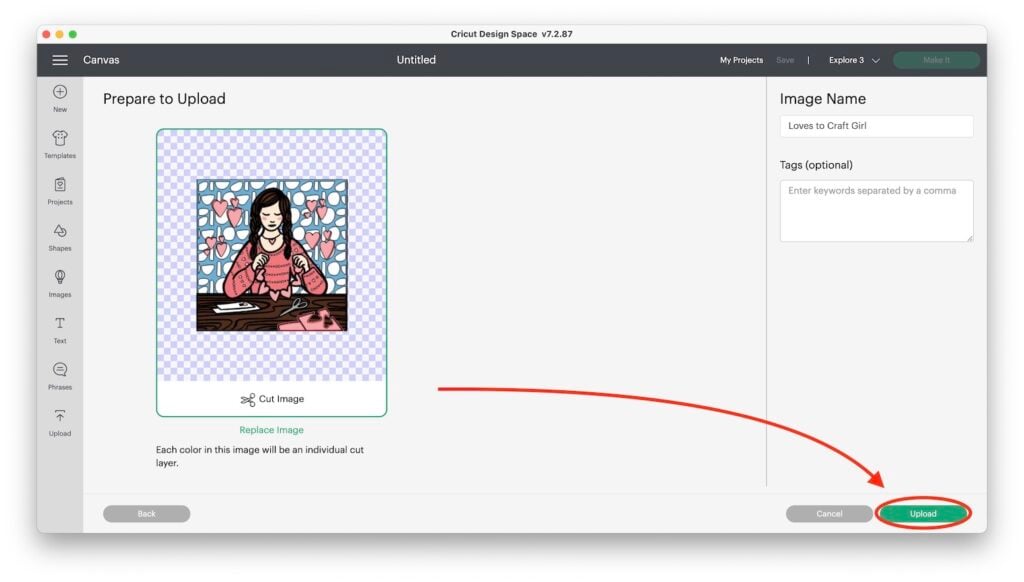
Step One: Upload the Free Design
You’ll find this design in my Free Library- it’s free for subscribers. To subscribe click here, and you’ll get the password emailed to you. Then, in Cricut Design Space click on a new canvas. On the far left toolbar click on the Upload icon.
Because this is an SVG design it will not give you the option of Print then Cut.
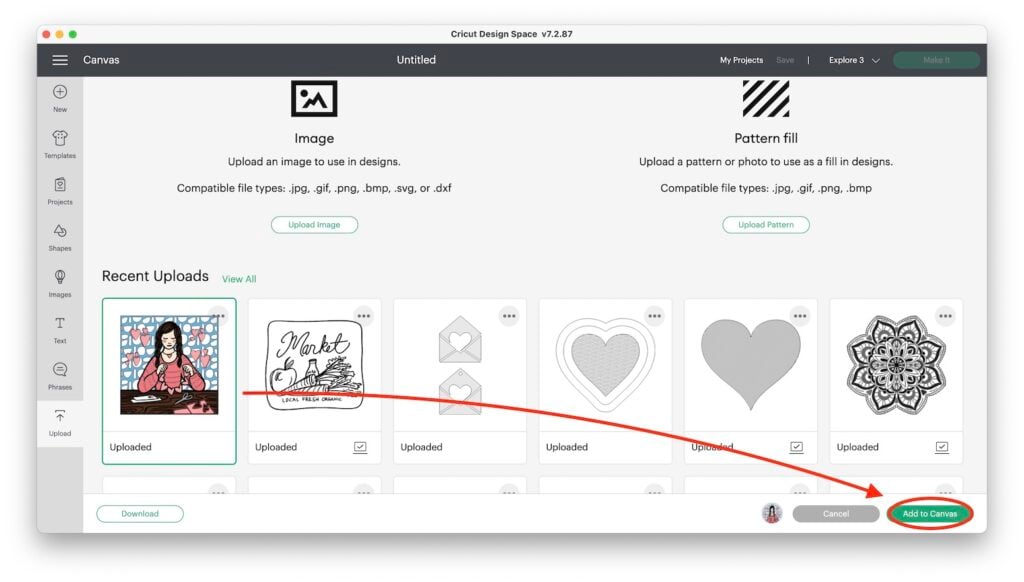
Step Two: Insert Into a New Canvas in Cricut Design Space
Click to select and insert into a canvas.
Step Three: Ungroup and Stack Design (if necessary)
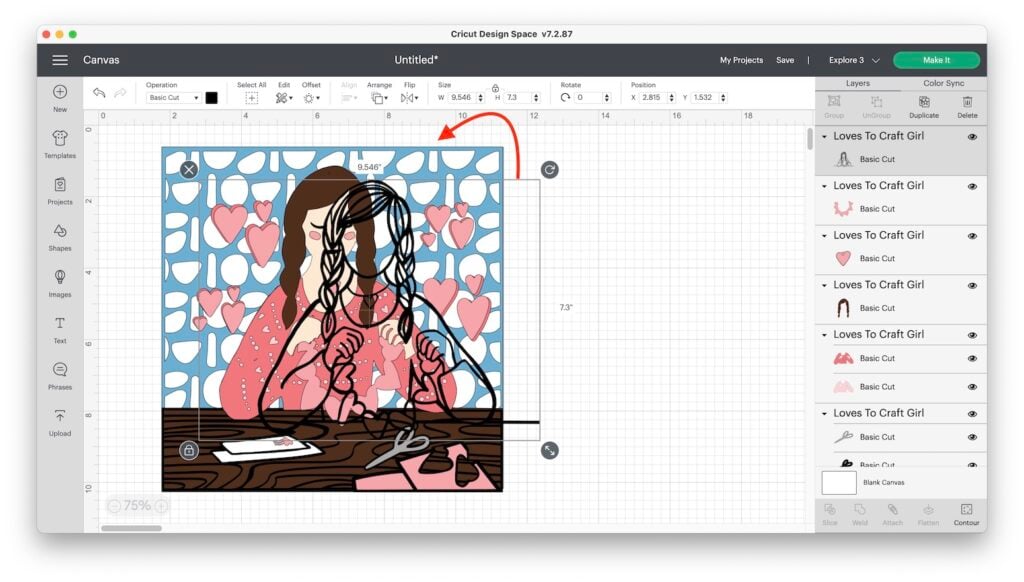
Once you’ve uploaded your design into your canvas it’s time to Ungroup the design. For some bizarre reason that only Cricut knows my perfectly stacked SVG shifted layers when I uploaded it into the canvas. It was fine until that step. 🤷🏼♀️
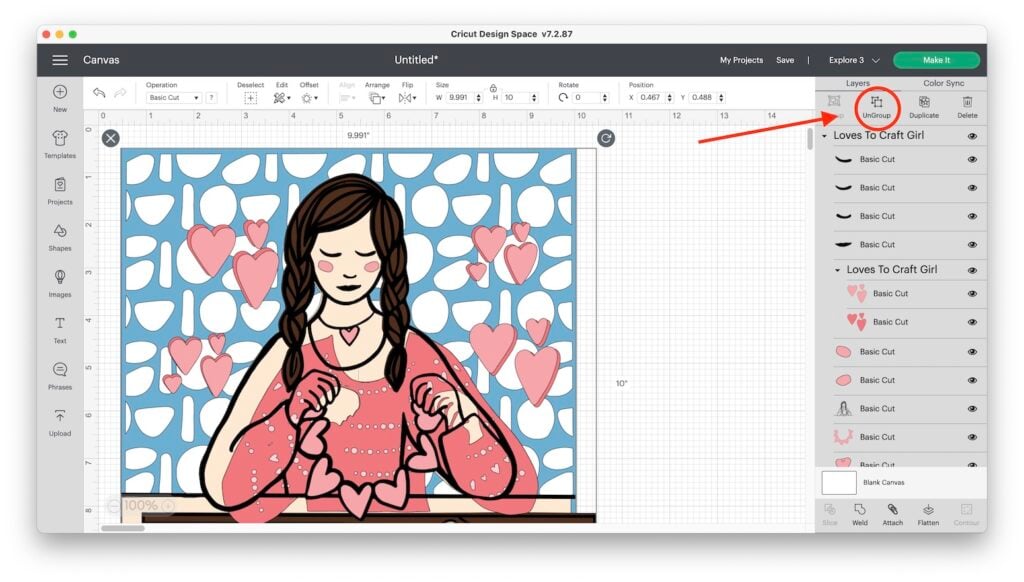
So you need to Ungroup so you can shift things over and stack them BEFORE you can change the size.
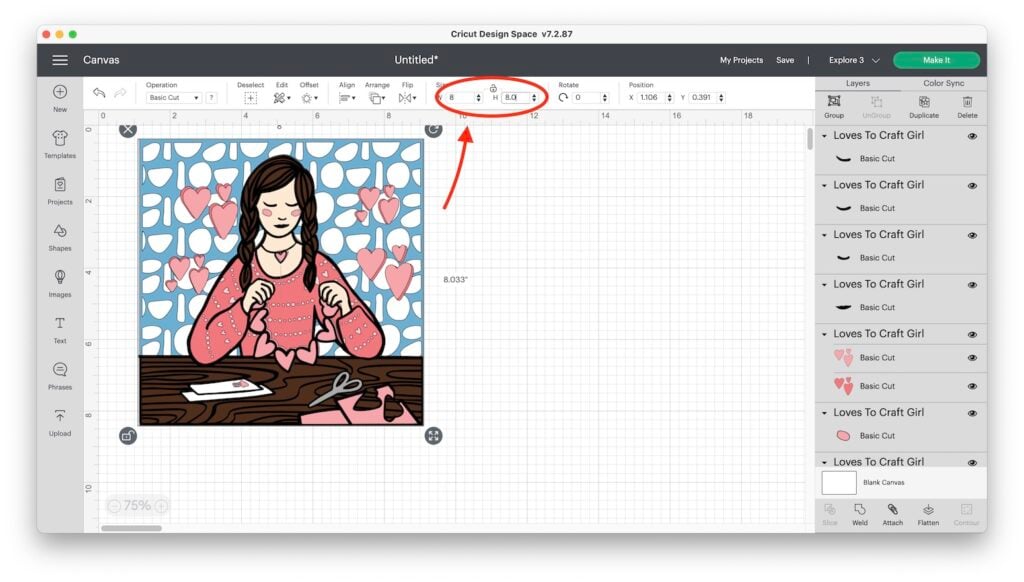
Step Three: Size the Design
This depends on what size you want your design. You can go up to 11.5″ x 11.5″ on a regular mat. Any larger and you’ll have to either slice your design or use a longer mat.
For the 8″ square shadowbox frame that I have, I need a design that is about 8″ high. Select ALL and change the Size in the top toolbar. And that’s it!
Step Four: Attach Smaller Like Colored Items Together (Optional)

Step Four: Try Different Colorways (Optional)
One thing I don’t do enough is to try out different color schemes right in Design Space. You can do this by clicking on the layer and then changing the color up in the top left corner by Operation.
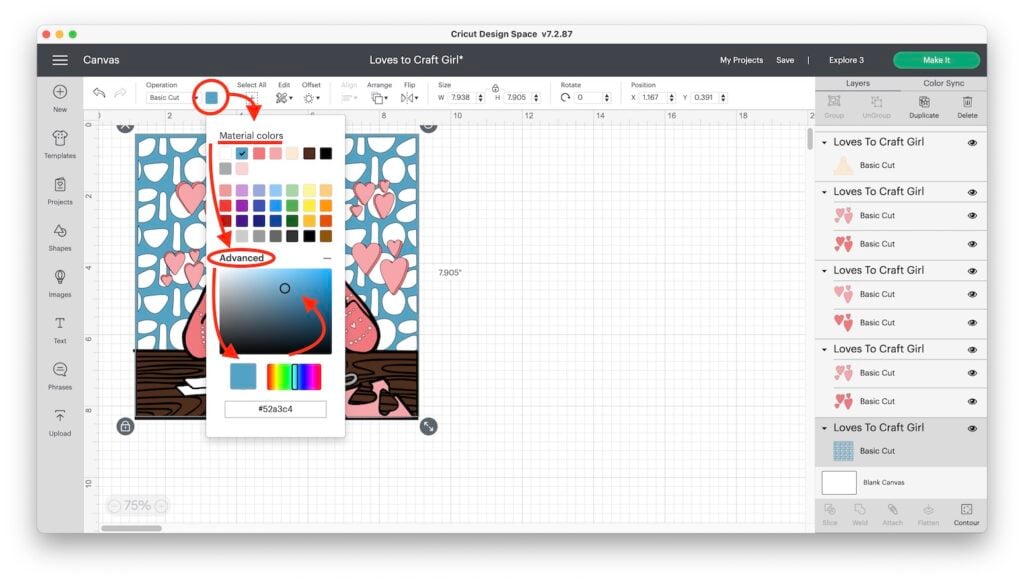
Playing with Different Color Possibilities
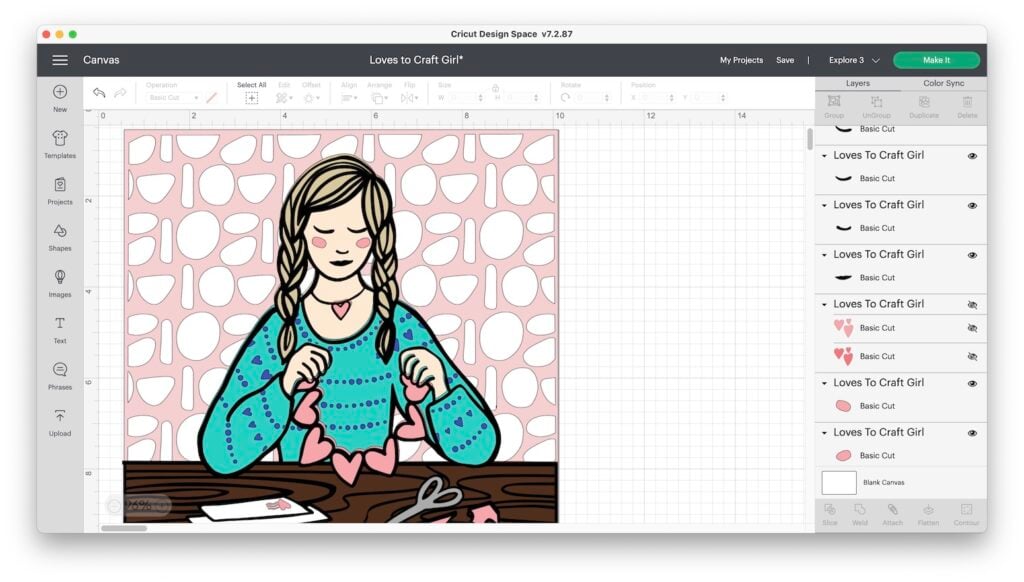
Blonde Hair/ Turquoise Sweater

Black Hair/ Red Sweater

BLUE Hair ❤️ / Blue Sweater
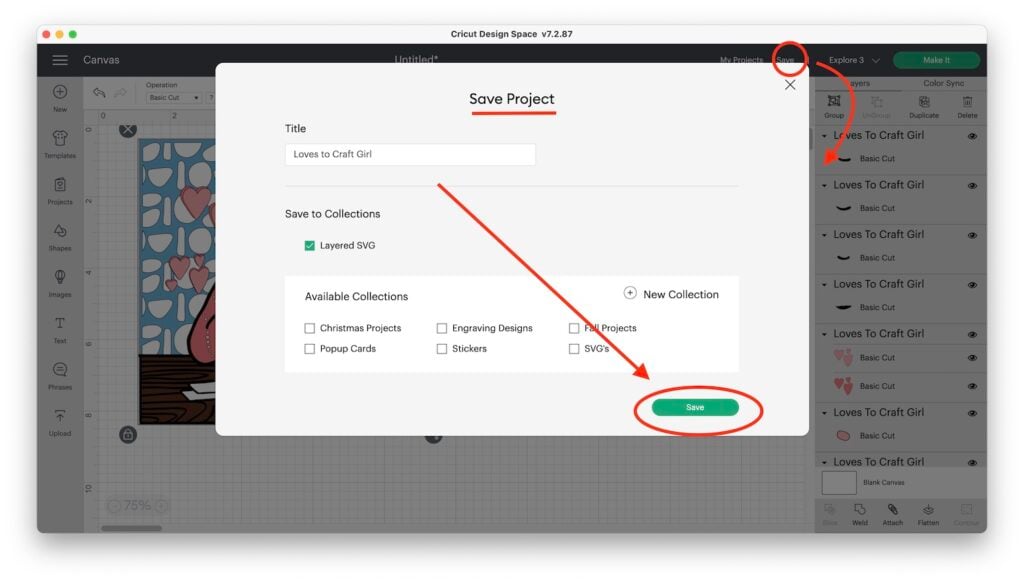
Step Four: Save Your Project and Make it!
In the top right of your toolbar tap the Save button to name and save your project. Then hit the Make it button!
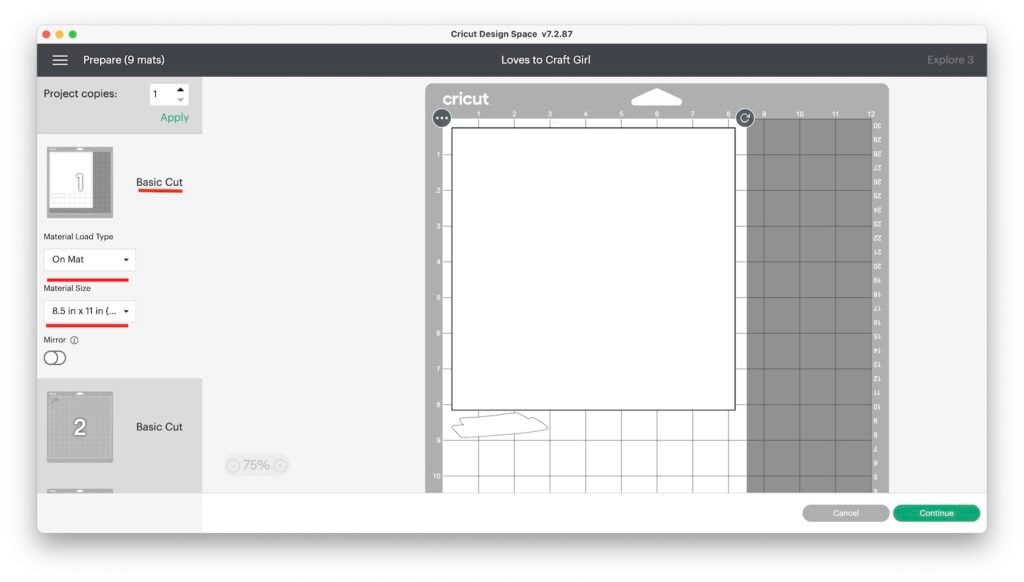
Step Five: Prep Your Mat
Gather the cardstock you plan to use, and be sure to choose whether you’ll be using 8.5″x 11″ or 12″ x 12″.
The size needed will vary from mat to mat. Place your first sheet of paper on your mat as shown on the Mat Preview Page. This project has 8 different mats to cut.
Step Six: Cut Your Layered Paper Design
Follow the prompts on the screen and choose the Material Setting that matches your type of paper.
I’m using Medium Cardstock for most of my paper. Although for the layer with the top black layer that has the crazy cut-out details I used Cardstock (Intricate Cuts.)
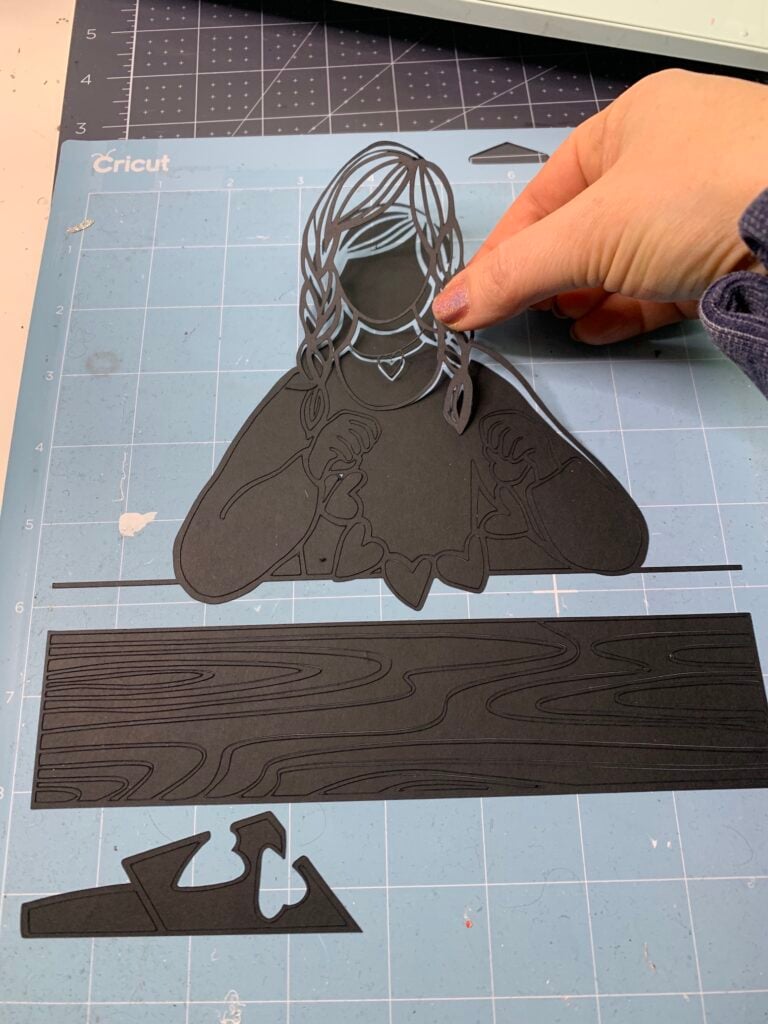
Tip for Avoiding Paper Curl-
Carefully flip the mat over and slowly peel your cut paper design away from the mat. The key is to keep the paper as flat as possible.
When it’s finished unload that mat and load and cut the next color of mat. Continue until all of the mats have been cut.
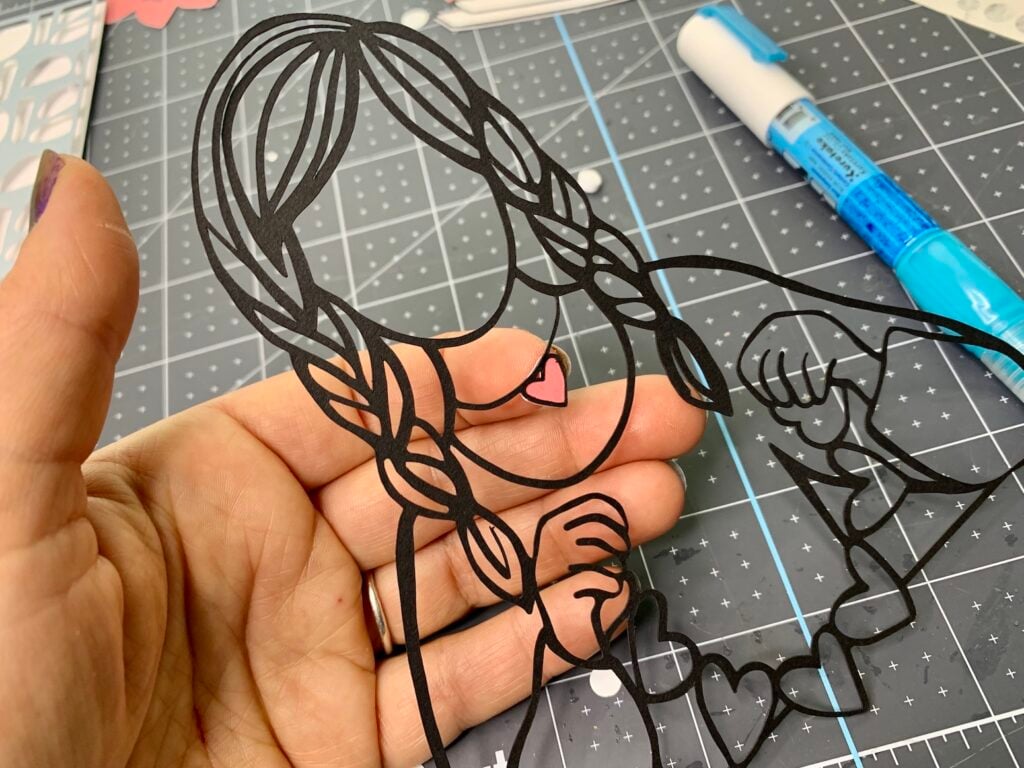
Note: The top layer (outline) and the sweater layers are intricate. So use the intricate cut setting with these!
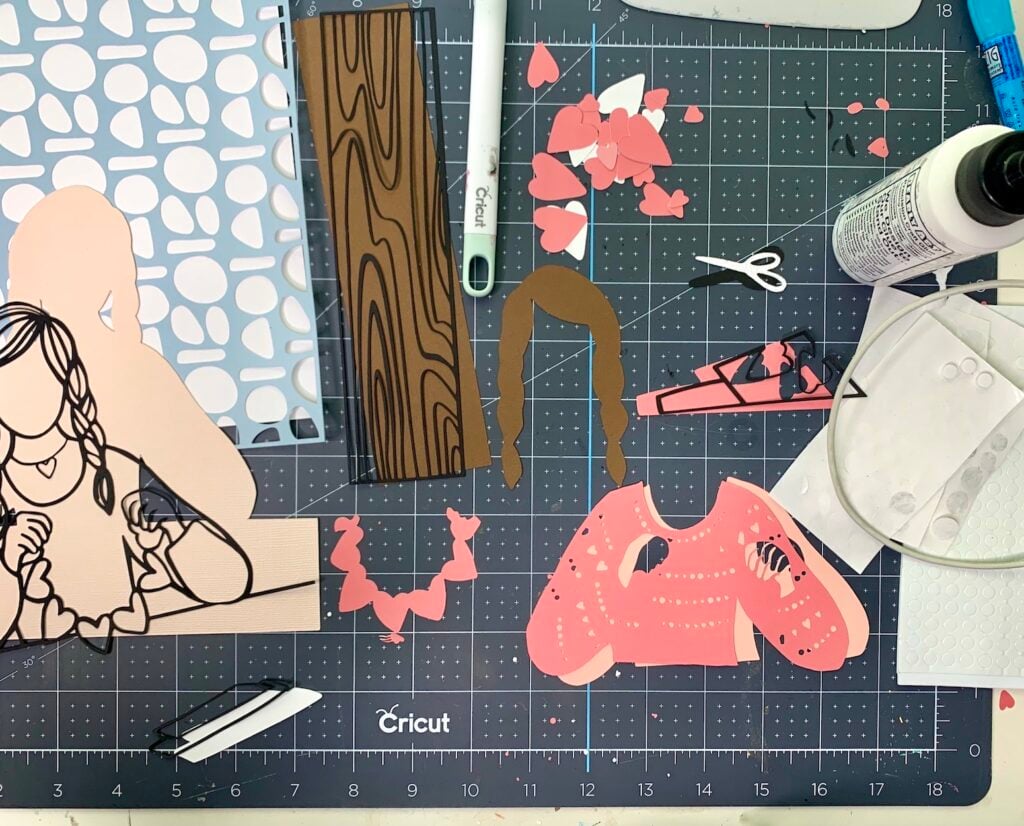
Step Seven: Assemble the Layered Paper Design
Use the dual adhesive foam dots to attach the various layers together that you’d like to be raised up. There were a couple of times that I didn’t use the dots but just glued the paper layers together. I did this to avoid some parts being way taller than others.
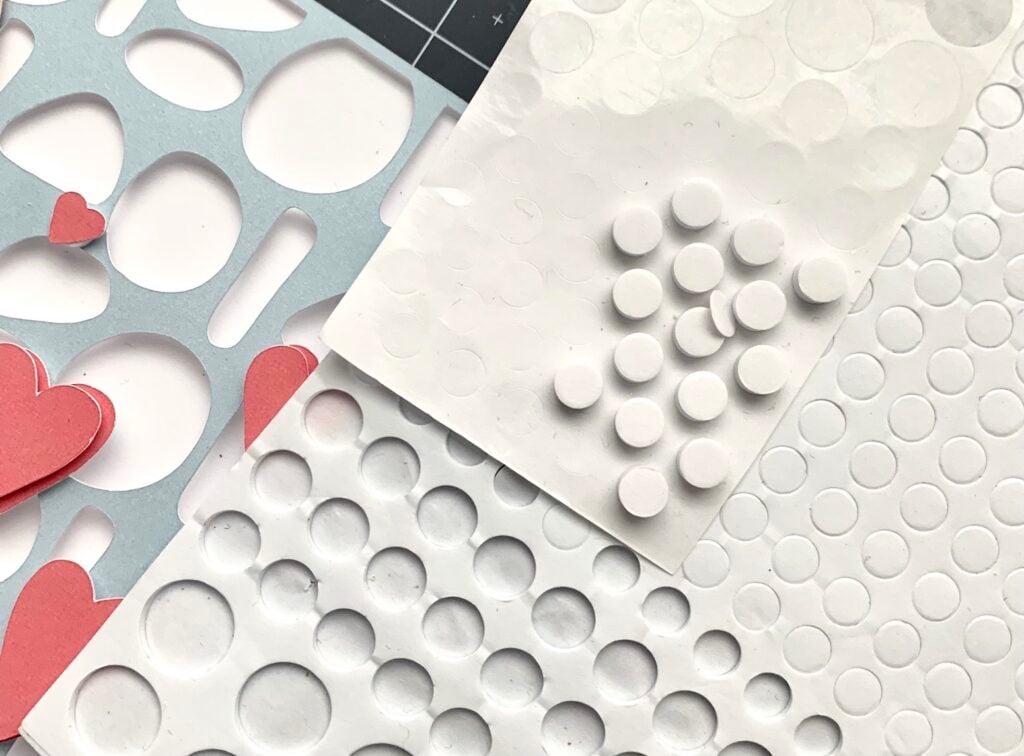
Dual-adhesive foam dots work awesome and give your design a ton of dimension!

I asked what kind of glue is best for small and intricate areas in my Facebook Group and they suggested either a glue pen or a bottle of glue with a precision tip. I have some recommendations for these in the materials list above.
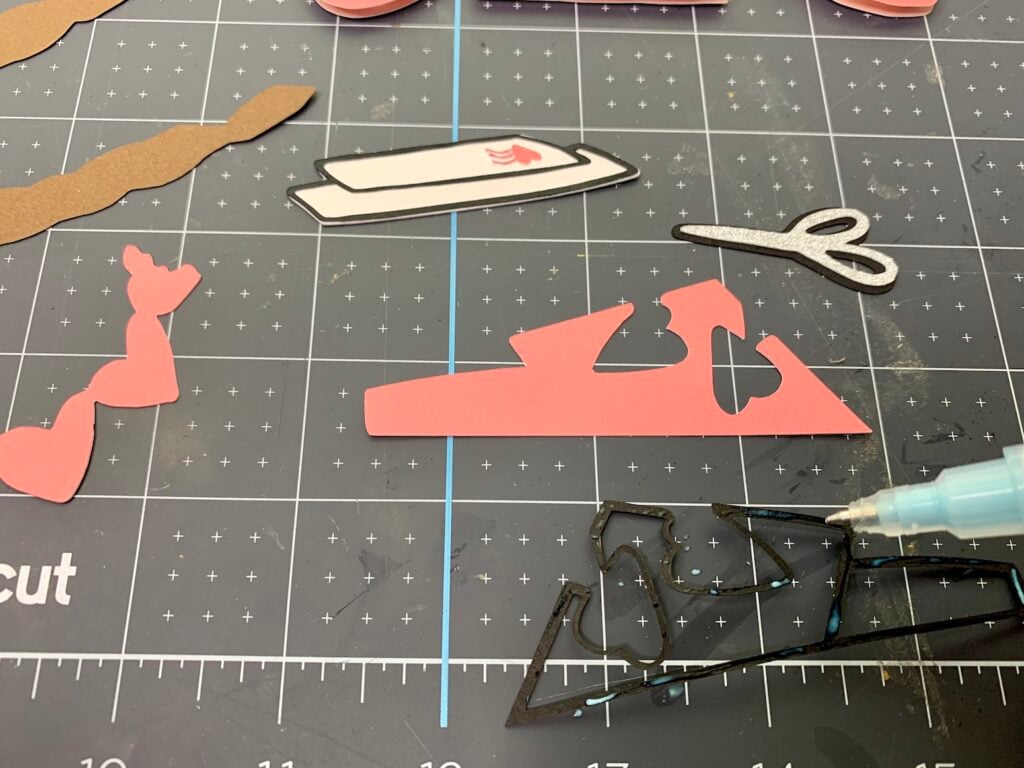
Use the black outline image to position the different layers. I glued to the backside of the top piece to help me with placement.
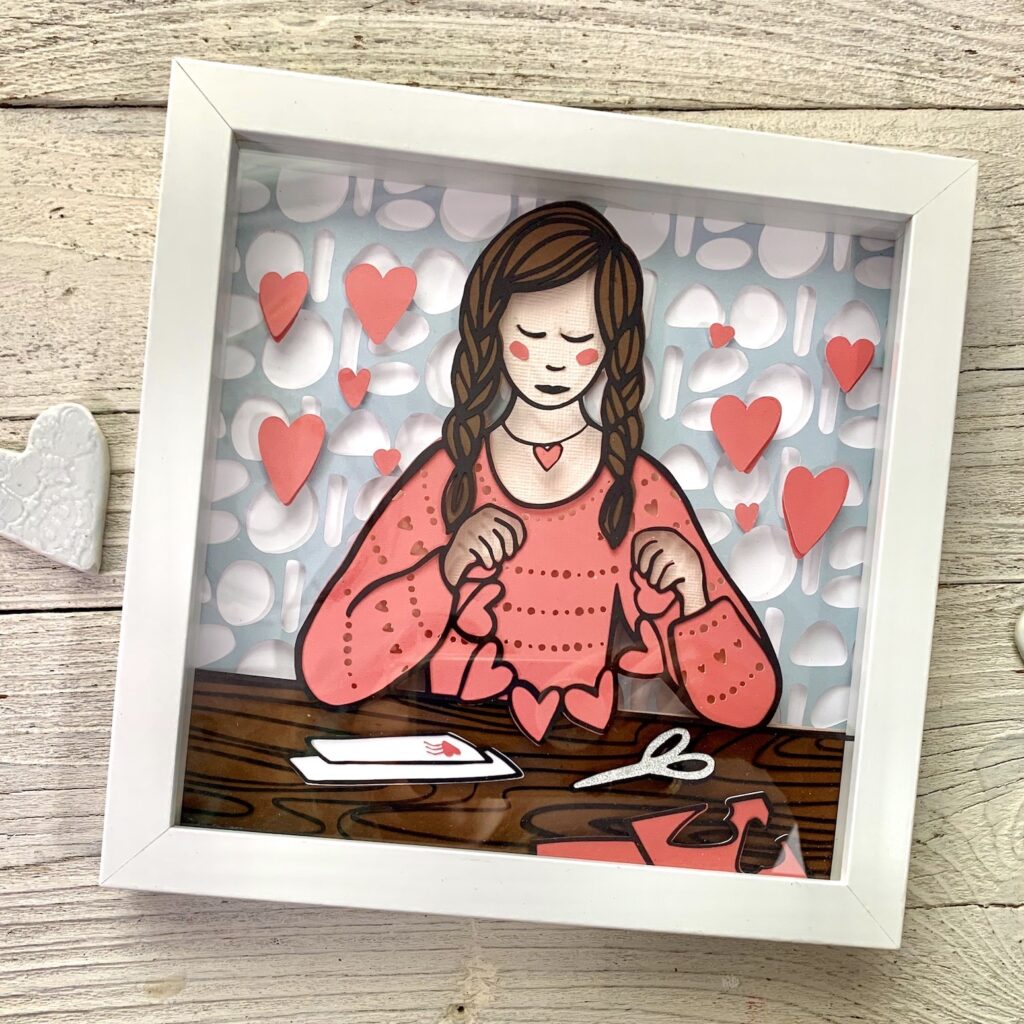
Step Eight: Frame Your Layered Paper Design! (Optional)
This is optional but it really finishes off your layered paper girl art. And of course, I’d love to have you add something to the glass or switch up the background. I was thinking it would be fun to add an “x” and “o” to the hearts. Or maybe add “loves to craft to the glass in vinyl.
For More Project Inspiration
There’s a lot you can do to personalize this! For instance, with my “Girl with Mug” layered paper design below (also free in the Library), I added large snowflakes that I drew in Procreate and then cut from removable vinyl with my Cricut.
I really like how the vinyl on the outside of the glass frame adds even more depth to this project!

Create Your Own Layered Design in Procreate
Want to know how to make your own layered girl in Procreate? I do have a FB live tutorial that you can watch. And I would LOVE to have you join my Procreate for Cricut +Silhouette Facebook Group too! We do weekly FB lives with beginner lessons in Procreate!
I also have a Facebook Live tutorial for drawing faceless portraits that is a good pre-requisite for watching how to make a layered girl. You can find that in the Guides of my FB group too!
Love this Post On How to Create a Layered Paper Design with the Cricut Explore 3? Share it!
If you found this post fun and helpful I’d love to have you share it!
Thanks for Reading,