The idea for this post came to me last spring (2020) when I first saw the scorch marker. It’s a chemical marker that you draw on wood with, and when you heat it, you get this cool wood-burned look. So no hot iron, no painstaking burning. It took a bit to figure out how to fit it in my Cricut- and by the time I thought I would run with it, I saw the Singe Quill. This is a similar wood-burning marker, but We-R-Memory Makers packaged two different widths together, and once you have the adapter, you can totally use this with a Cricut. Six months and an engraving book later, and my little Gnome buddies had had enough. “Get it done!” SO- I present how to wood burn tags with a Cricut and the Singe Quill!
Enter to Win The Merry Maker-mas Giveaway!
Today is Day 20 of the Merry Maker-mas Giveaway which means there are only FIVE DAYS LEFT! Yup, that’s five days to enter the giveaway. I can’t wait to give away a Cricut Maker, a Silhouette Portrait, and some of my paid products on the 25th. Have you entered yet? You can’t win if you don’t enter!

And before we get into how to wood burn tags with a Cricut, I wanted to let you know that at the bottom of this post, I have a couple of other SUPER cute Gnome tags to show you! These are free gnome crafts from two of my blogger friends, and I know that you guys will love them! So check out the links below this tutorial!
How to Wood Burn Tags with Cricut and the Singe Quill!
Tools and Materials
- Cricut Explore Air 2 , Cricut Explore 3, Cricut Maker, or Cricut Maker 3 (or Cameo) Machines
- Computer or Tablet with Cricut Design Space
- Standard Grip (green mat) or Strong Grip (purple mat)
- Painter’s Tape or Double Stick Tape
- Thin Wood Tags
- Crop-a-dile or Drill
- Quill/Pen Adapter for your machine
- Singe Quill (I use the fine) by We R Memory Makers (you can also get a starter kit which may have the adapters)
- Heat Gun (embossing gun works too- just not as fast)
These are affiliate links for your convenience. If you click on any of these it doesn’t change your price but I get a small commission. Thank you!
Directions
Step One: Get the Free Design!
Download the Free Gnome design from my Free Resource Library. This is a subscriber bonus, but it’s free to join, and then you get the super secret password!
Step Two: Upload it into Cricut Design Space
Open a new canvas in Cricut Design Space, and in the left side toolbar, click on the Upload icon. On the next screen, choose the upload an image option. Then click on the browse button and select your download. On the Image Process Page, choose Complex and then skip ahead until you’re prompted to save it. Save the image as a Cut File.
Step Three: Insert into a New Canvas
Back on the Uploaded Images page select your design and click Insert Images. This opens your design up in your canvas. The design comes in large, so you’ll want to go ahead and size it down.
Step Four: Create a Template and Size Your Design to Fit
Measure your wood tag and click on the Shapes icon on the left side toolbar. Select a square. Unlock the constraints and change the size of your shape to match your tag. Change the image LineType to Draw. Size your design to fit the tag. Remember to leave a little extra room at the top for a hole (if there isn’t one already).
Step Five: Use the Template to Center the Design
Once you have the Gnome image sized the way you want, Duplicate it and then drag the copy off to the side. Select the other Gnome design and the tag template. Align> Center> Attach. Change the color of your template to red to make it easier to see.
Save the project and then hit the Make it! in the upper right corner. This takes you to the Mat Preview Page. Move your template on the screen to where your tag will be in real life. Now when you move one over top of the other you can easily see when they are perfectly aligned because the red of the template will be obscured.
Click on the three dots in the upper left corner of the mat. Choose Hide Selected.
Step Six: Prep and Load the Mat
Place your tag on a Strong Grip or Standard Grip Mat. I like to tape things down so they don’t shift on me. So tape your tag to the mat. Check to make sure the position on the Mat Preview Page matches the position of the wood tag on the mat.

Step Seven: Insert the Singe Quill (with Adapter) Into Your Machine
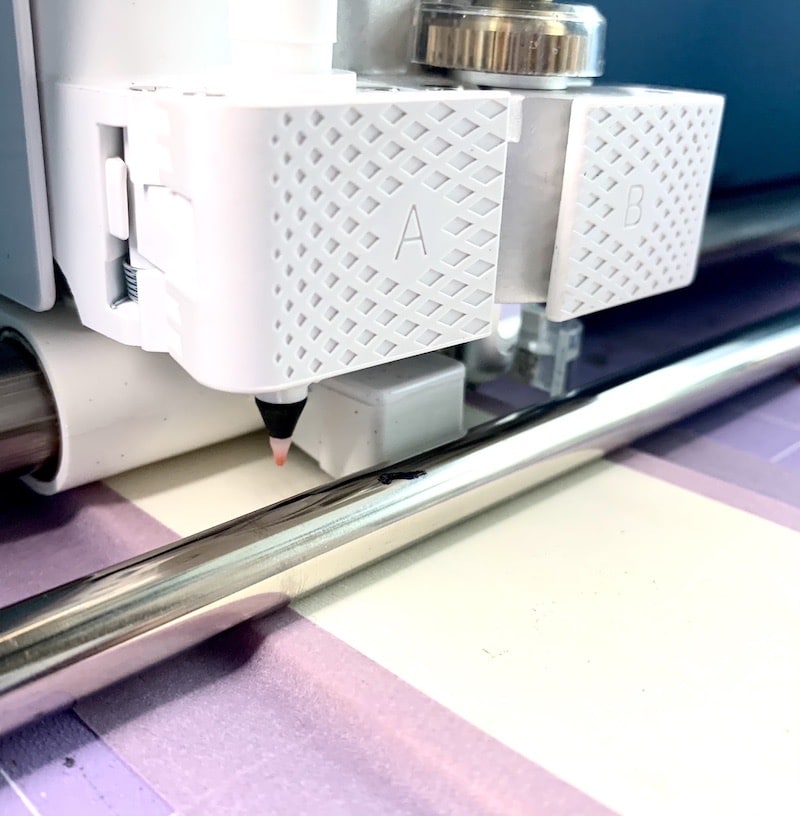
Open up Carriage A by unlatching and then pulling the tab over to the left enough that the “clamps” can open.
Slide out the original pen holder, and slide in the replacement. There’s a raised line on the tool that corresponds to the raised ledge in the Cricut.

Step Eight: Select the Material Setting and Push Go
Because I was doing little wooden tags I decided the material setting that’s maybe the closest height is the Kraft Board. But I don’t know if that makes a difference or not. Load the Mat and then press the blinking “Go” button.
Step Nine: Draw with the Singe Quill and then Unload Mat
Your Cricut will draw with the pen on the wood. But you won’t be able to see anything until you heat it up. It’s like invisible ink!

Step Ten: Use a Heat Gun to Activate the Ink
Before you use a heat gun, or an embossing gun to heat the ink, remove it from the mat and place it on a heat-proof surface (like a piece of craft mat that can stand high temps. Go over the entire project with the heat gun, paying attention to how the wood looks. If it seems to be charring then pull the gun away just. a bit.

Step Eleven: Punch a Hole in the Wood and Finish with Ribbon or Twine
Use a small drill, a drill press, OR you can use a Crop-a-Dile. Cut a length of ribbon or twine and thread it through the front of the tag.

And you’re done! Hang that Gnome Goodness on the Wall!
🎄 Now that You Know How to Wood Burn Tags with a Cricut… Try these OTHER Gnome Crafts! 🎄
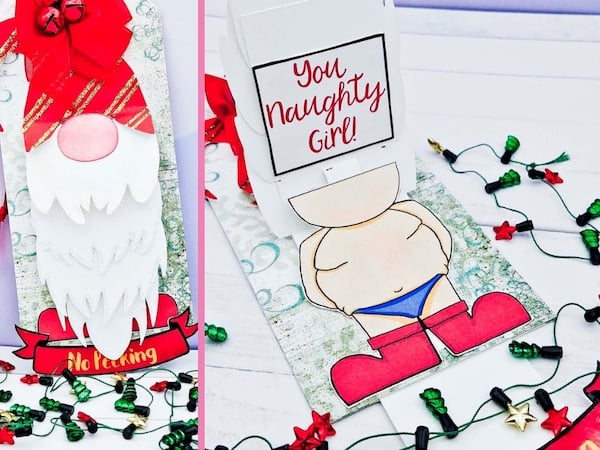
Remember I mentioned at the top that I had some links for you at the bottom of this post? Here you go- Jennifer Stahr’s Naughty Gnome and Emily Minor’s Gnome Explosion are both SUPER fun! My crafty Gnome friends heartily approve!
Naughty Gnome Pop-Up Card- Go Ahead Lift His Beard 😂.

It’s Raining Gnomes with this EXPLOSIVE Gnome Experience!

When my friend Jen Stahr first said she planned to do a gnome project, that was a little risqué; I couldn’t for the life of my figure out how she was going to do that. I mean, it’s Gnomes. 🤷🏼♀️
She did it, and she totally wins for this project. I about died laughing when I saw the video she made, so make sure you hop over to her blog and check it out!
AND MORE GNOMES! Emily Minor is the queen of the Explosion Box. She knows how to do them and teaches them very, very well. I have her book on how to make an Explosion Box, and it makes something that looks hard- easy. Then the girl took it a step further with this Gnome Explosion!
Yes. Super cute Gnome Ornaments explode from the box and then magically land on your tree. 🎄
Okay- that last part is maybe a bit of a tall tale. But it does explode, and there are LOTS of gnomes!!! Both of these crafts are from my collaboration with 5 other crafty friends who created tutorials for each of these projects.

For more info on the other crafts that are part of Gnome Week check out my post, How to Make Gnome Gift Tag Stickers with a Cricut. I have links for each project that will make it super easy to follow along!

Love this? Share it!
If you found this post helpful or inspirational (or you just don’t want to forget where you saw it…) I’d love to have you share it on IG or FB or Pinterest! Thanks for your support. I totally wouldn’t be able to do what I do if it were not for your encouragement and assistance!
Thanks for Reading,


